
diy protective face mask
Your Pattern will be available to you at checkout.
Your Pattern will be available to you at checkout.
Your Pattern will be available to you at checkout.

Instructions how to make the protective face mask
Download your pattern. Print two copies.
Cut your pattern out.
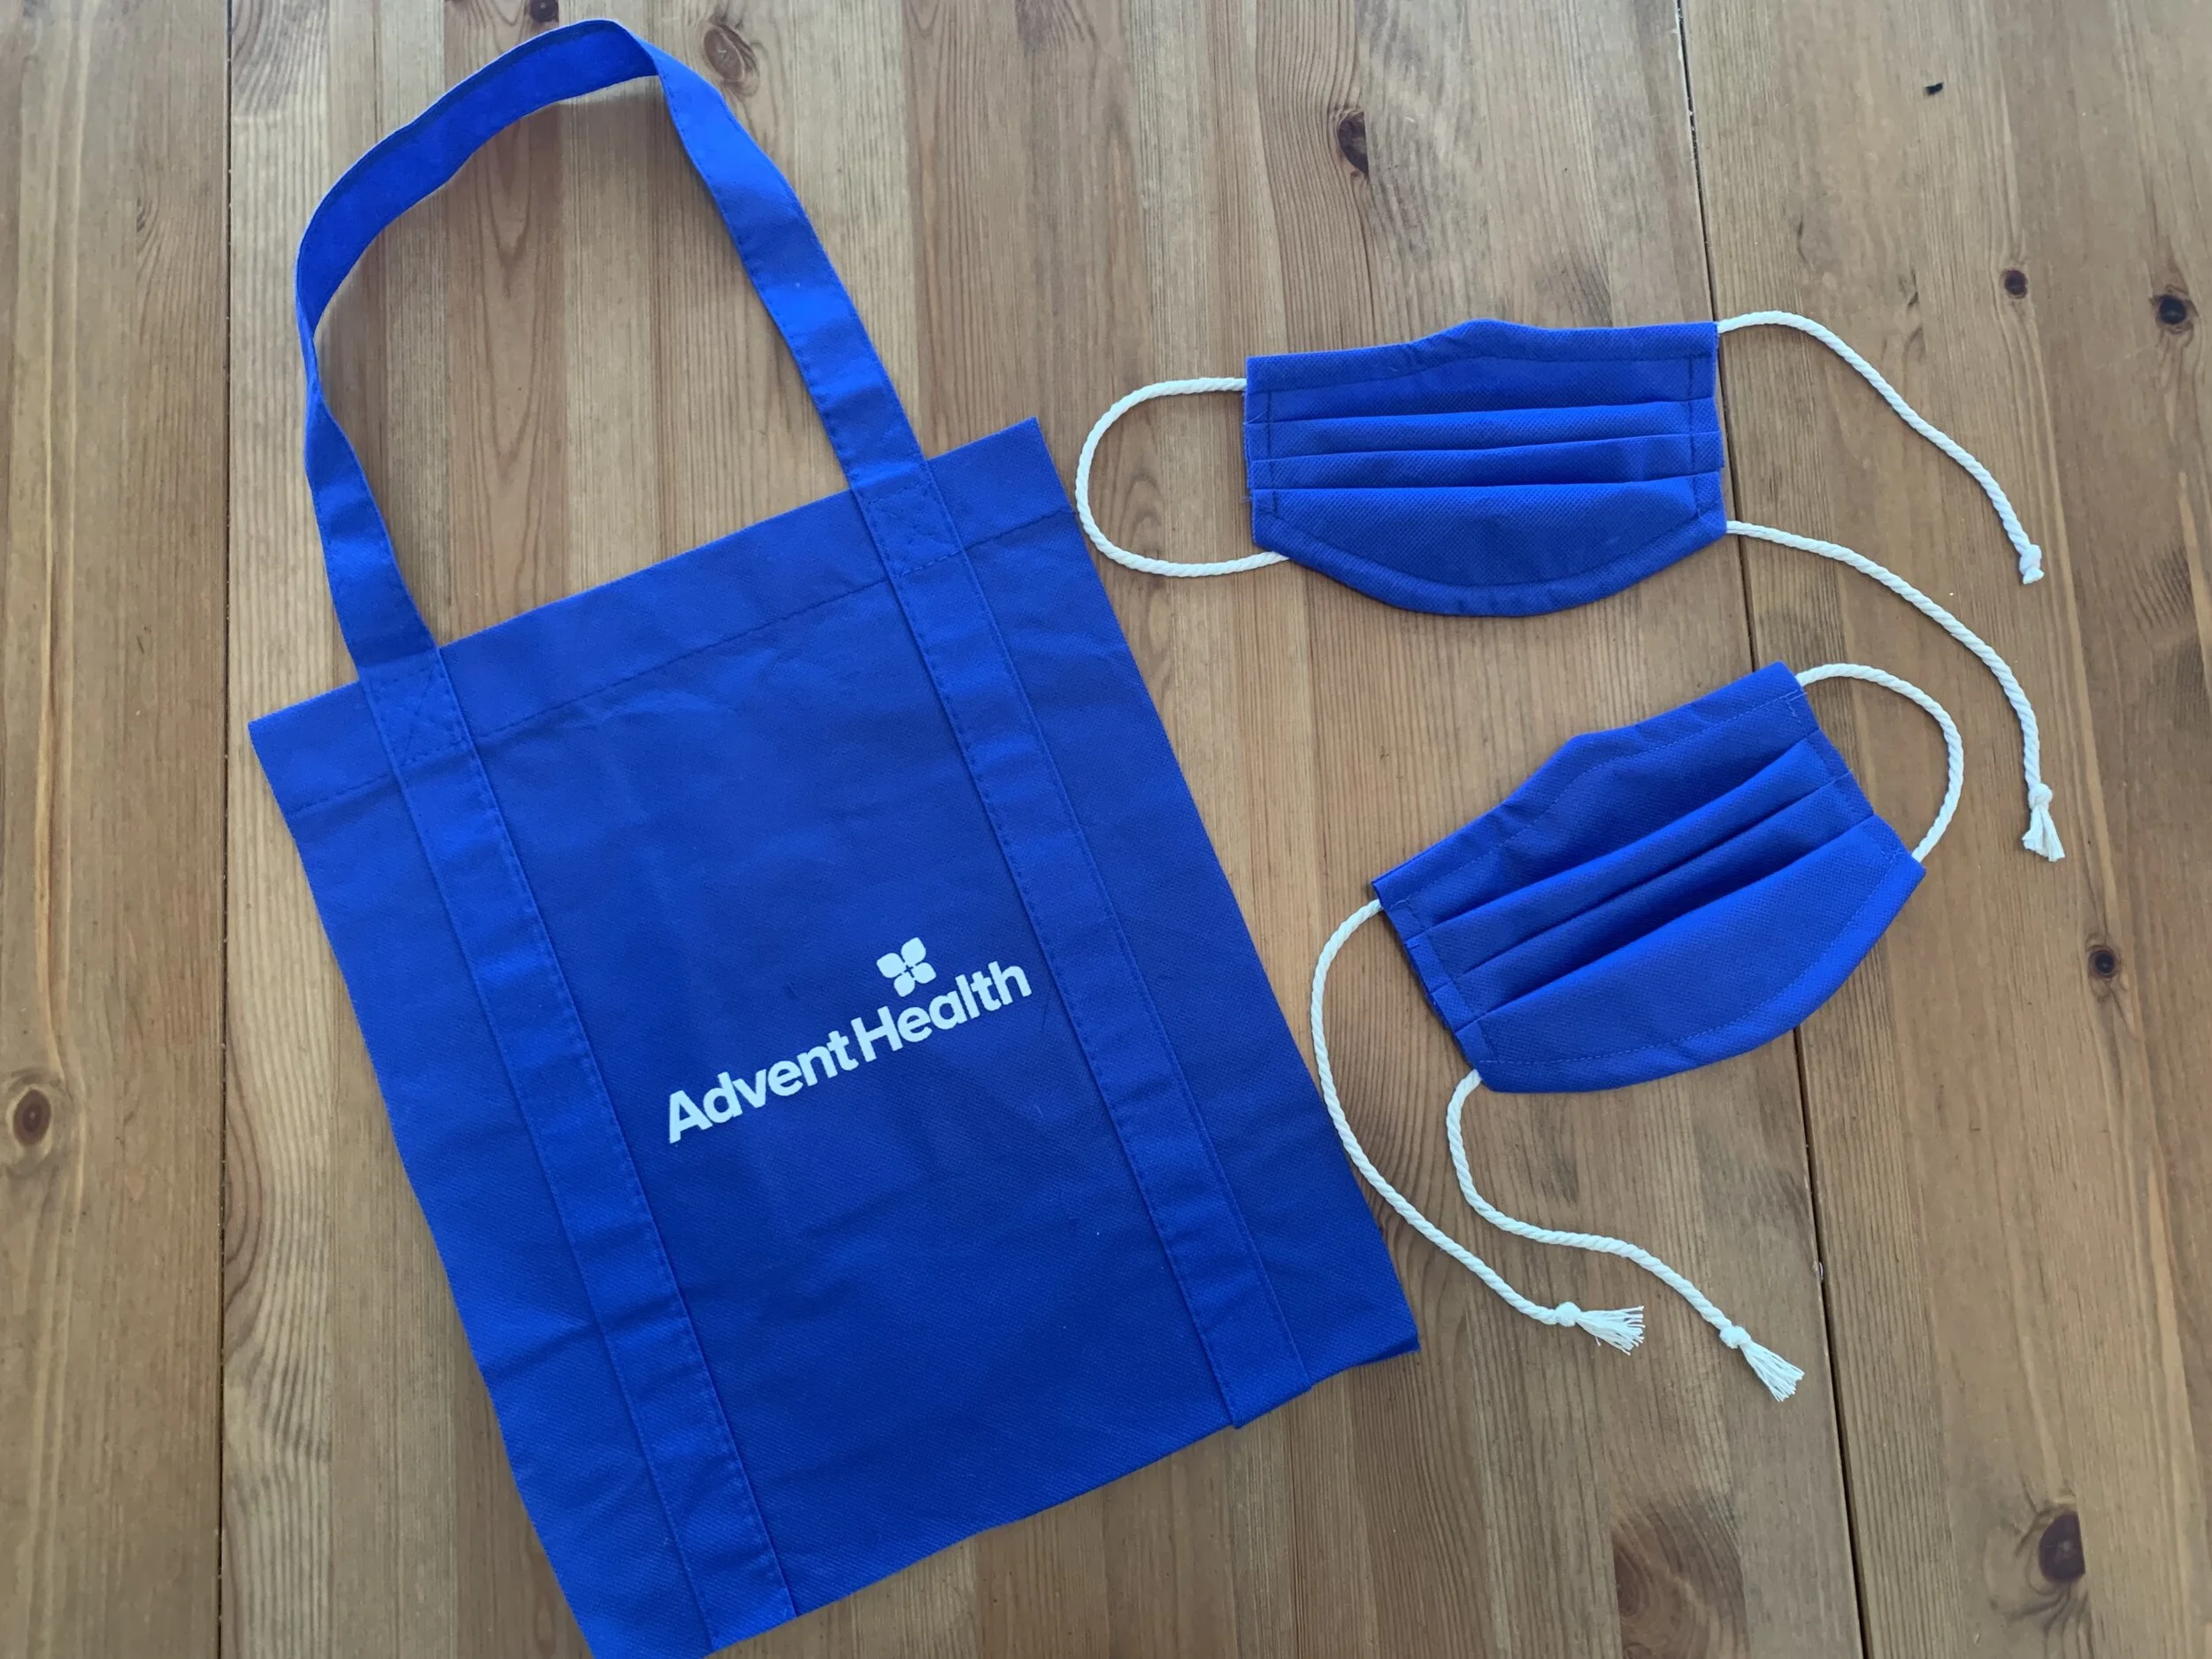
Cut two pieces of fabric. Ideally if you have enough of the reusable bags made from nonwoven polypropelene, you can use just those. But, as per CDC, cloth will do just fine in a shortage. According to the CDC, cloth masks will work in a shortage crisis.
Sew along line 1 with a 1/4” seam allowance as marked on the pattern.
Sew along line 2 with a 1/4” seam allowance as marked on the pattern.
Turn your mask right side out so the seam allowances are to the inside.
Mark line 3 1/2” from the edge as marked on your pattern and sew.
Mark Line 4 1/2” from the edge as shown on your pattern and sew.
Point 5 on your pattern is your first pleat. match the top notch to the bottom and fold them together. Pin in place. Repeat with pleats 6, 7, 8, 9, and 10. Press all of your pleats down and stay stitch them in place with a 1/4” seam allowance. Do not stitch over your seams at the top and bottom of your mask as your strap needs to go through that channel.
feed your shoestring or elastic through the channel at the top of your mask and at the bottom creating your straps that will fit behind the ears. Tie them to size and leave a little extra string so your medical professional can adjust the ear straps to their comfort.