How to hem pants
BASIC ALTERATION #1 - THE HEM
“It is a new era in fashion - there are no rules. It’s all about the individual and personal style.”
Alexander McQueen
You know it when you see it, pants that just fit. You also know it when you see it, pants that need to be hemmed. It is startling when a new pants length and shape is introduced. Maybe it is fresh. Maybe it is re-imagined. But it is intoxicating when style gives us a new length to change our collective silhouette. Until style tires of that length and offers us another.
In tailoring there are no rules because they are always changing. They change region to region, profession to profession and for different age groups. To be well dressed is to have the instinct for what is in fashion right now and to wear it in real time. To be exquisitely dressed is to have a style that transcends the changes and that highlights the grace of your body and reveals something unique to your spirit.
With this workshop, you will learn alter your clothing lengths to keep you looking fresh and to show off your personal style. Let’s Sew!
SUPPLIES:
Your garment
Shoes you might wear it with
Thin safety pins or straight pins
Chalk or frixion pen
A full length mirror
Sewing machine
Proper sewing machine needle
Thread to closely match your garment
Straight Pins
Measuring tape
See through ruler
Iron
Sleeve board if you have it
1. PIN YOUR HEM
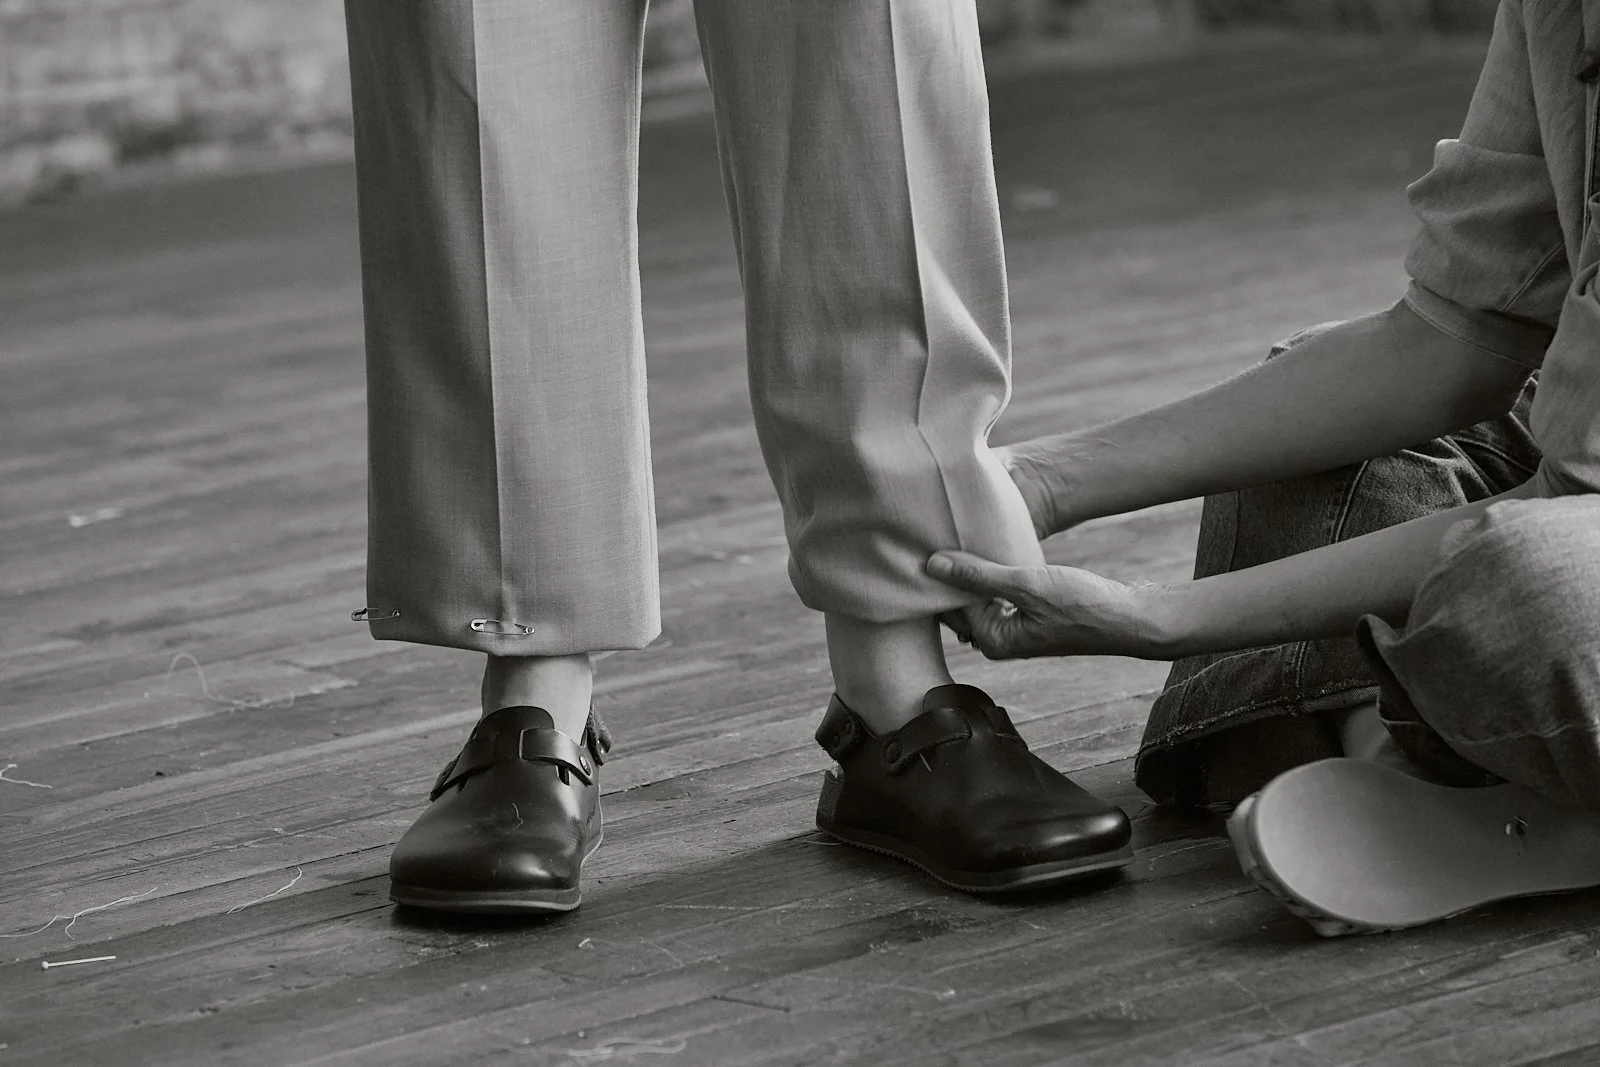
How to pin a hem.
The most important part of this alteration is pinning the garment on your model. If you are the model, ask a friend to help you with your pinning. You want to be able to see what your hem looks like before you cut and sew your garment.
Another important step, make sure your waist is sitting at the right spot. If it needs to be taken in, simply pin it before you pin your hem. If a belt is going to be worn, add the belt.
Put on your shoes. This is important. A hem sits completely differently on shoes.
Stand in front of a mirror so your model can see your pinning. There is no one perfect length for a hem. Let your wearer tell you what they want. If you are wearing the pants, be clear with your buddy. Take your time.
Use straight pins or fine safety pins in your fabric. Fold your hem under and pin it in place. Pin all the way around to see how it looks front and back.
2. MARK YOUR HEM
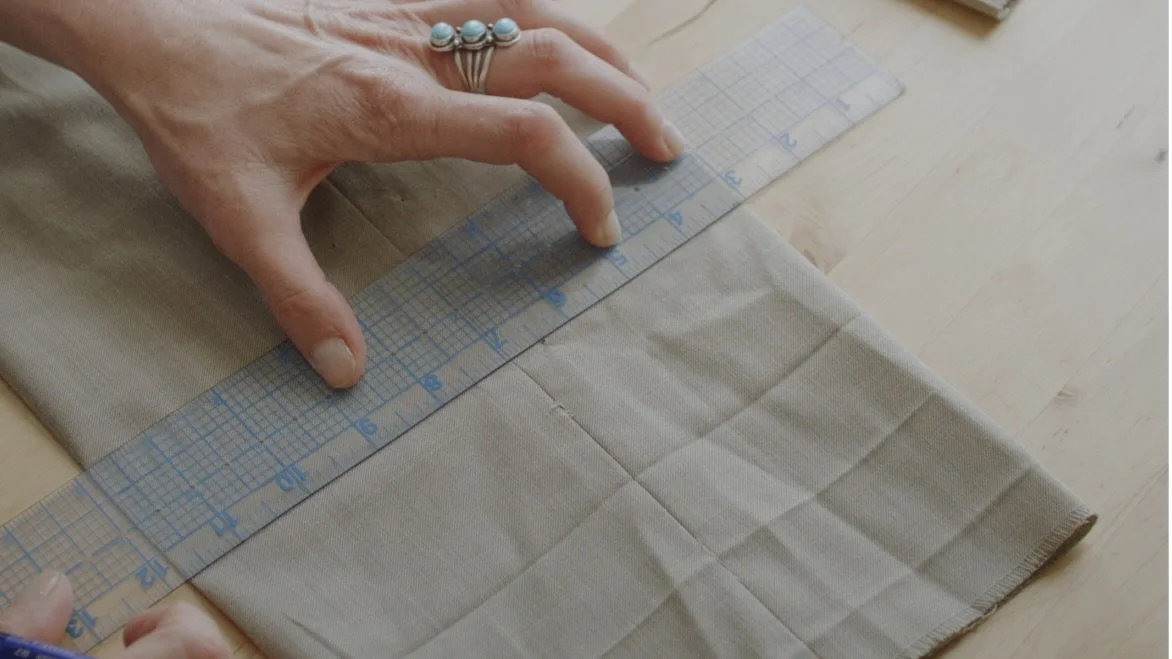
Mark the length of the hem with a marking tool or a straight pin. Draw that line straight across your pant with your chalk or frixion pen.
Draw a line the width of your hem below that line. Say you want your stitch to show one inch above the length of your pant, your width is 1”.
Draw a seam allowance another 1/2” below that line.
Cut on the third line. I recommend marking and cutting each leg separately.
PRO TIP - If your original hem is getting in the way of the new hem, pluck it out and press it flat. Then continue.
3. PRESS AND FOLD YOUR HEM
Press your seam allowance under 1/2”
Fold your hem at the width line (line 2) and pin it using the length line (line 1) as your guide
Pin your hem in place. I use four pins. One at each side seam and one center front & one center back.
PRO TIP - (BOX) when you press your hem adjust the heat of the iron to match the type of fabric you are working with.
4. STITCH YOUR HEM
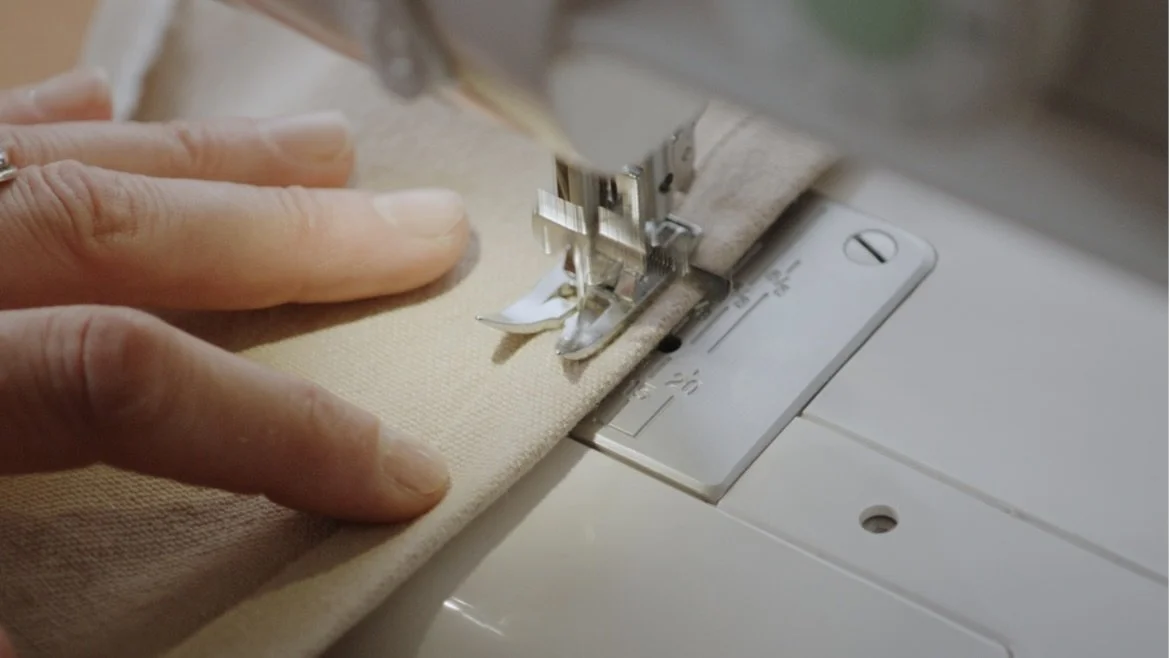
how to sew a hem.
Choose the stitch length that will most closely match the stitch length in your original hem. It will match the stitches in place in your garment.
Start from the inside at the inseam (center seam) of your pant and stitch around. Create a straight line right next to the fabric fold. You want this to be beautiful.
5. FINISH YOUR HEM
Adjust the heat of your iron for your fabric content.
Press your hem. Notice how professional it looks once it is pressed.
TA DA!