How to make a simple pillow cover with a zipper
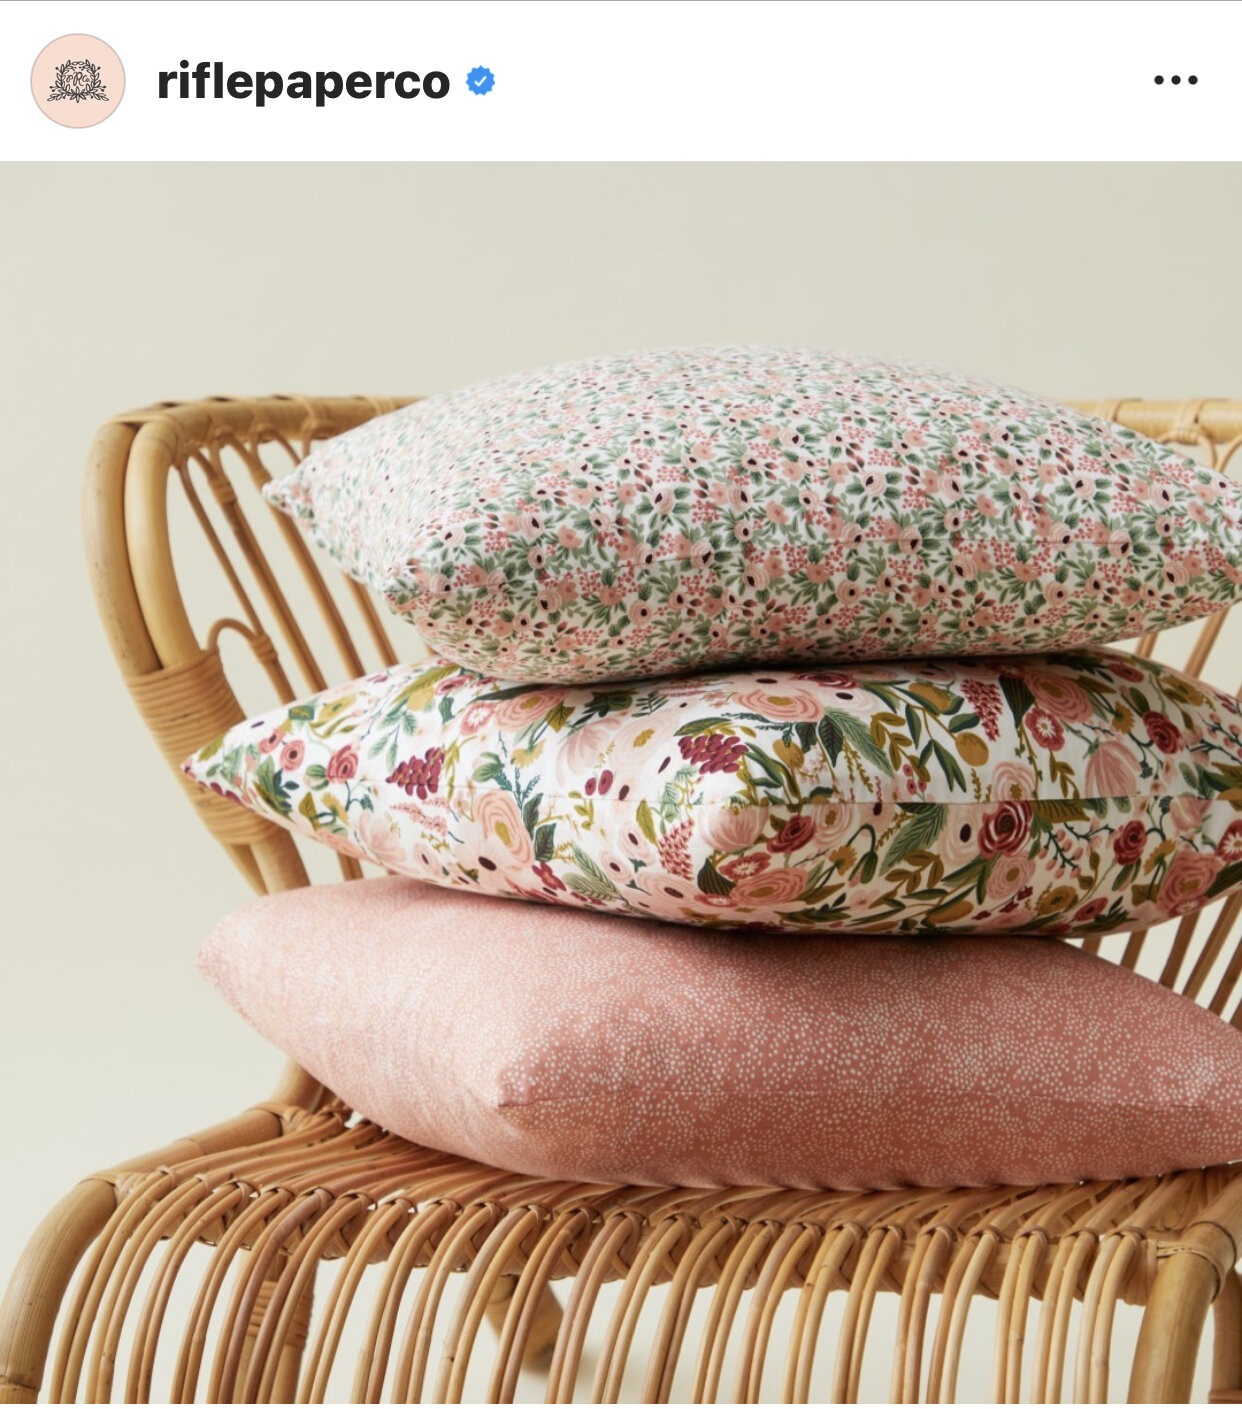
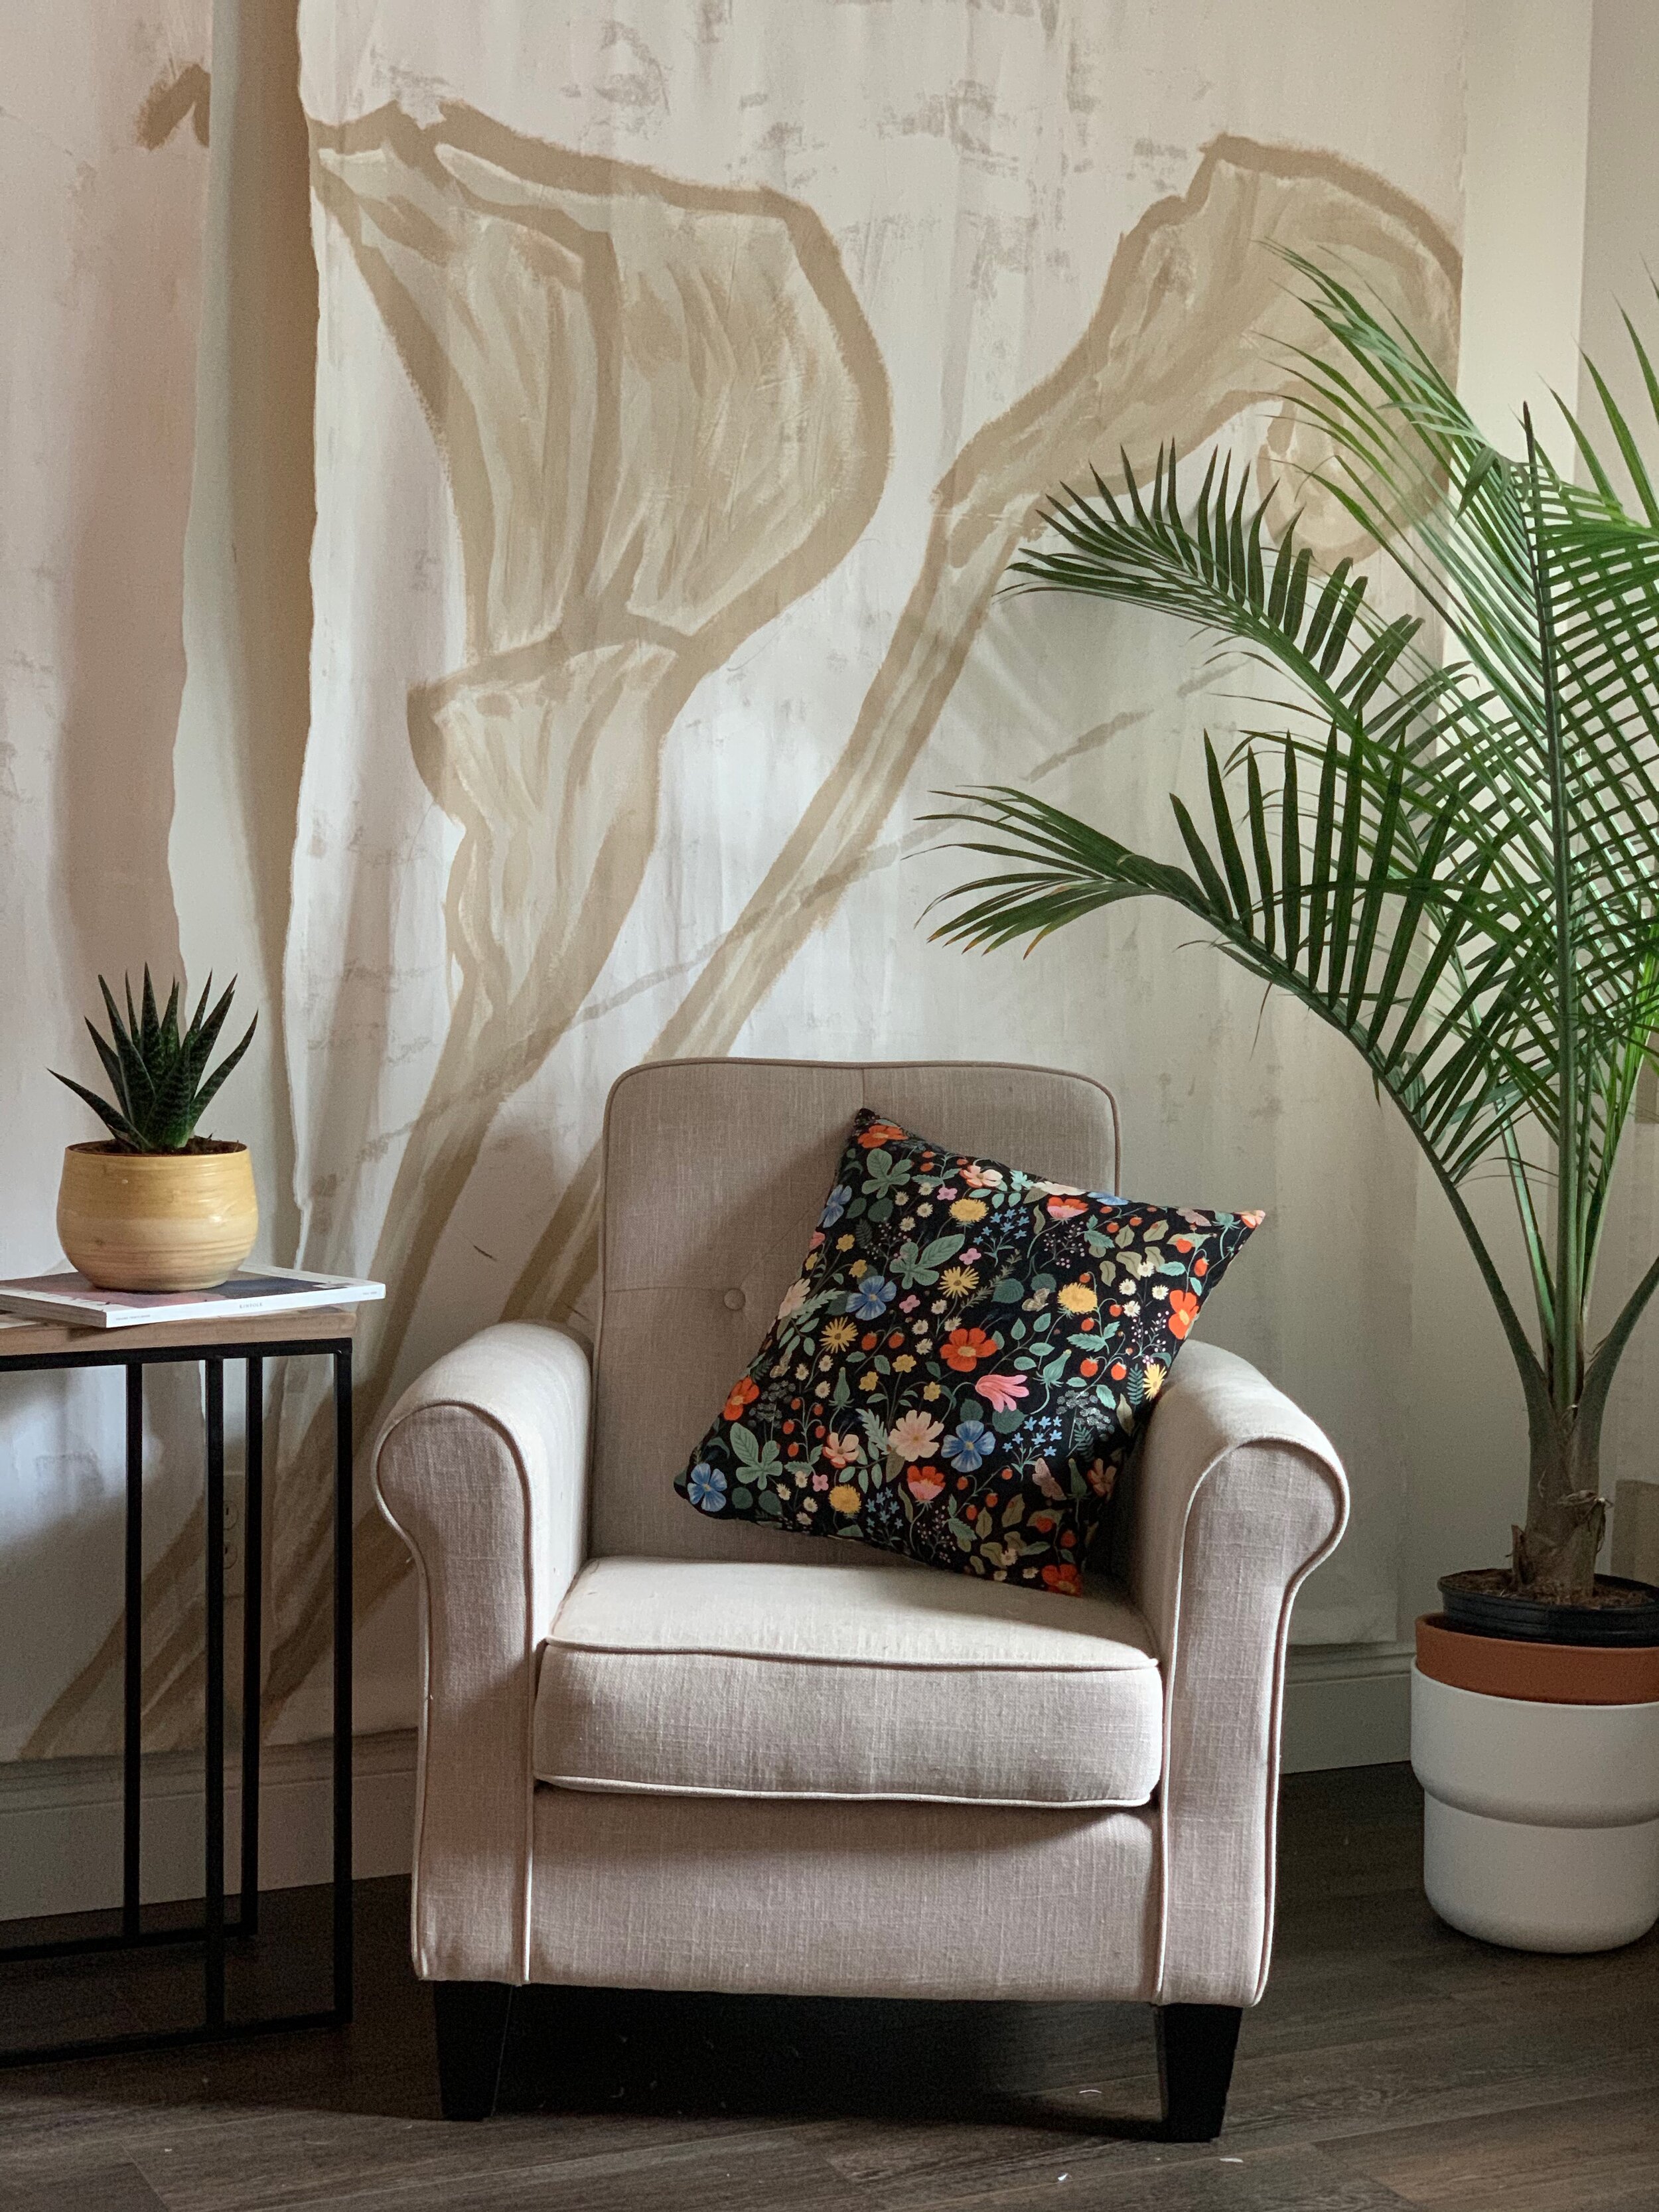
Project idea: revive your sunroom with pretty floral pillows like the ones we made for our friends at Rifle Paper Co. fabrics.
Hey! Thanks for popping in to chat with me about pillows. I absolutely love the way I can renew a room I am just sick of looking at (ahem - all of them ca 2020) by just recovering old or building new pillows. Read all the way through for my 30 minutes or less to a pillow tutorial. I throw in a few nuggets I have learned working on the road on fashion photo shoots as an on-set tailor so stay tuned for those. And! If you love what you see me teaching here and want to learn all of the things about sewing … jump in to my New Basics Beginner’s Sewing Series - it is online, at your own time, easy-green-modern-and FUN! And you can learn to build anything you want to build out of fabric with me!
So, pillows. First lets talk about supplies:
sewing machine
fabric. We will make an 18” pillow cover here so enough for 2 squares @ 19”x19”.
thread
zipper foot. Either the one that came with your machine if you like it or this one I love.
invisible zipper 18” or longer (we can cut it down to size)
pillow form (pre-made or upcycled. read all the way through:)
iron and ironing board
For the pillow form … you can do one of three things. You can buy a pillow form pre made. You want it to measure 20”x20”. You can use a pillow form from another pillow. Just throw it in the dryer for 30 minutes on high heat to kill any biological stuff. Or, my favorite option, you can upcycle a bed pillow. Either an abandoned one from your home (dryer treatment first:) or you can buy one from a big box store and cut it down to size. It will want to finish at 20 by 20 and you can decide how you want the stuffing to look. The beauty of making things at home is that you can make them how you like them!
“How to choose your pillow cover size for your pillow form
for a lush overstuffed pillow - your cover is 2” smaller than your form
for a chic understuffed pillow - your pillow cover is the same finished size as your form”
Step 1: first things first. Get set up. Plug in your machine, wind the bobbin, thread her up. Set up your ironing board.
Step 2: Cut your fabric. You can create a paper pattern cut at 19” x 19” for this if you plan to make multiples. This pillow will finish at 18” so the 19” cut gives you a one half inch seam allowance on all sides. If you are working with a repeating pattern or stripes, be sure to cut so that your patterns or stripes match when you sew them.
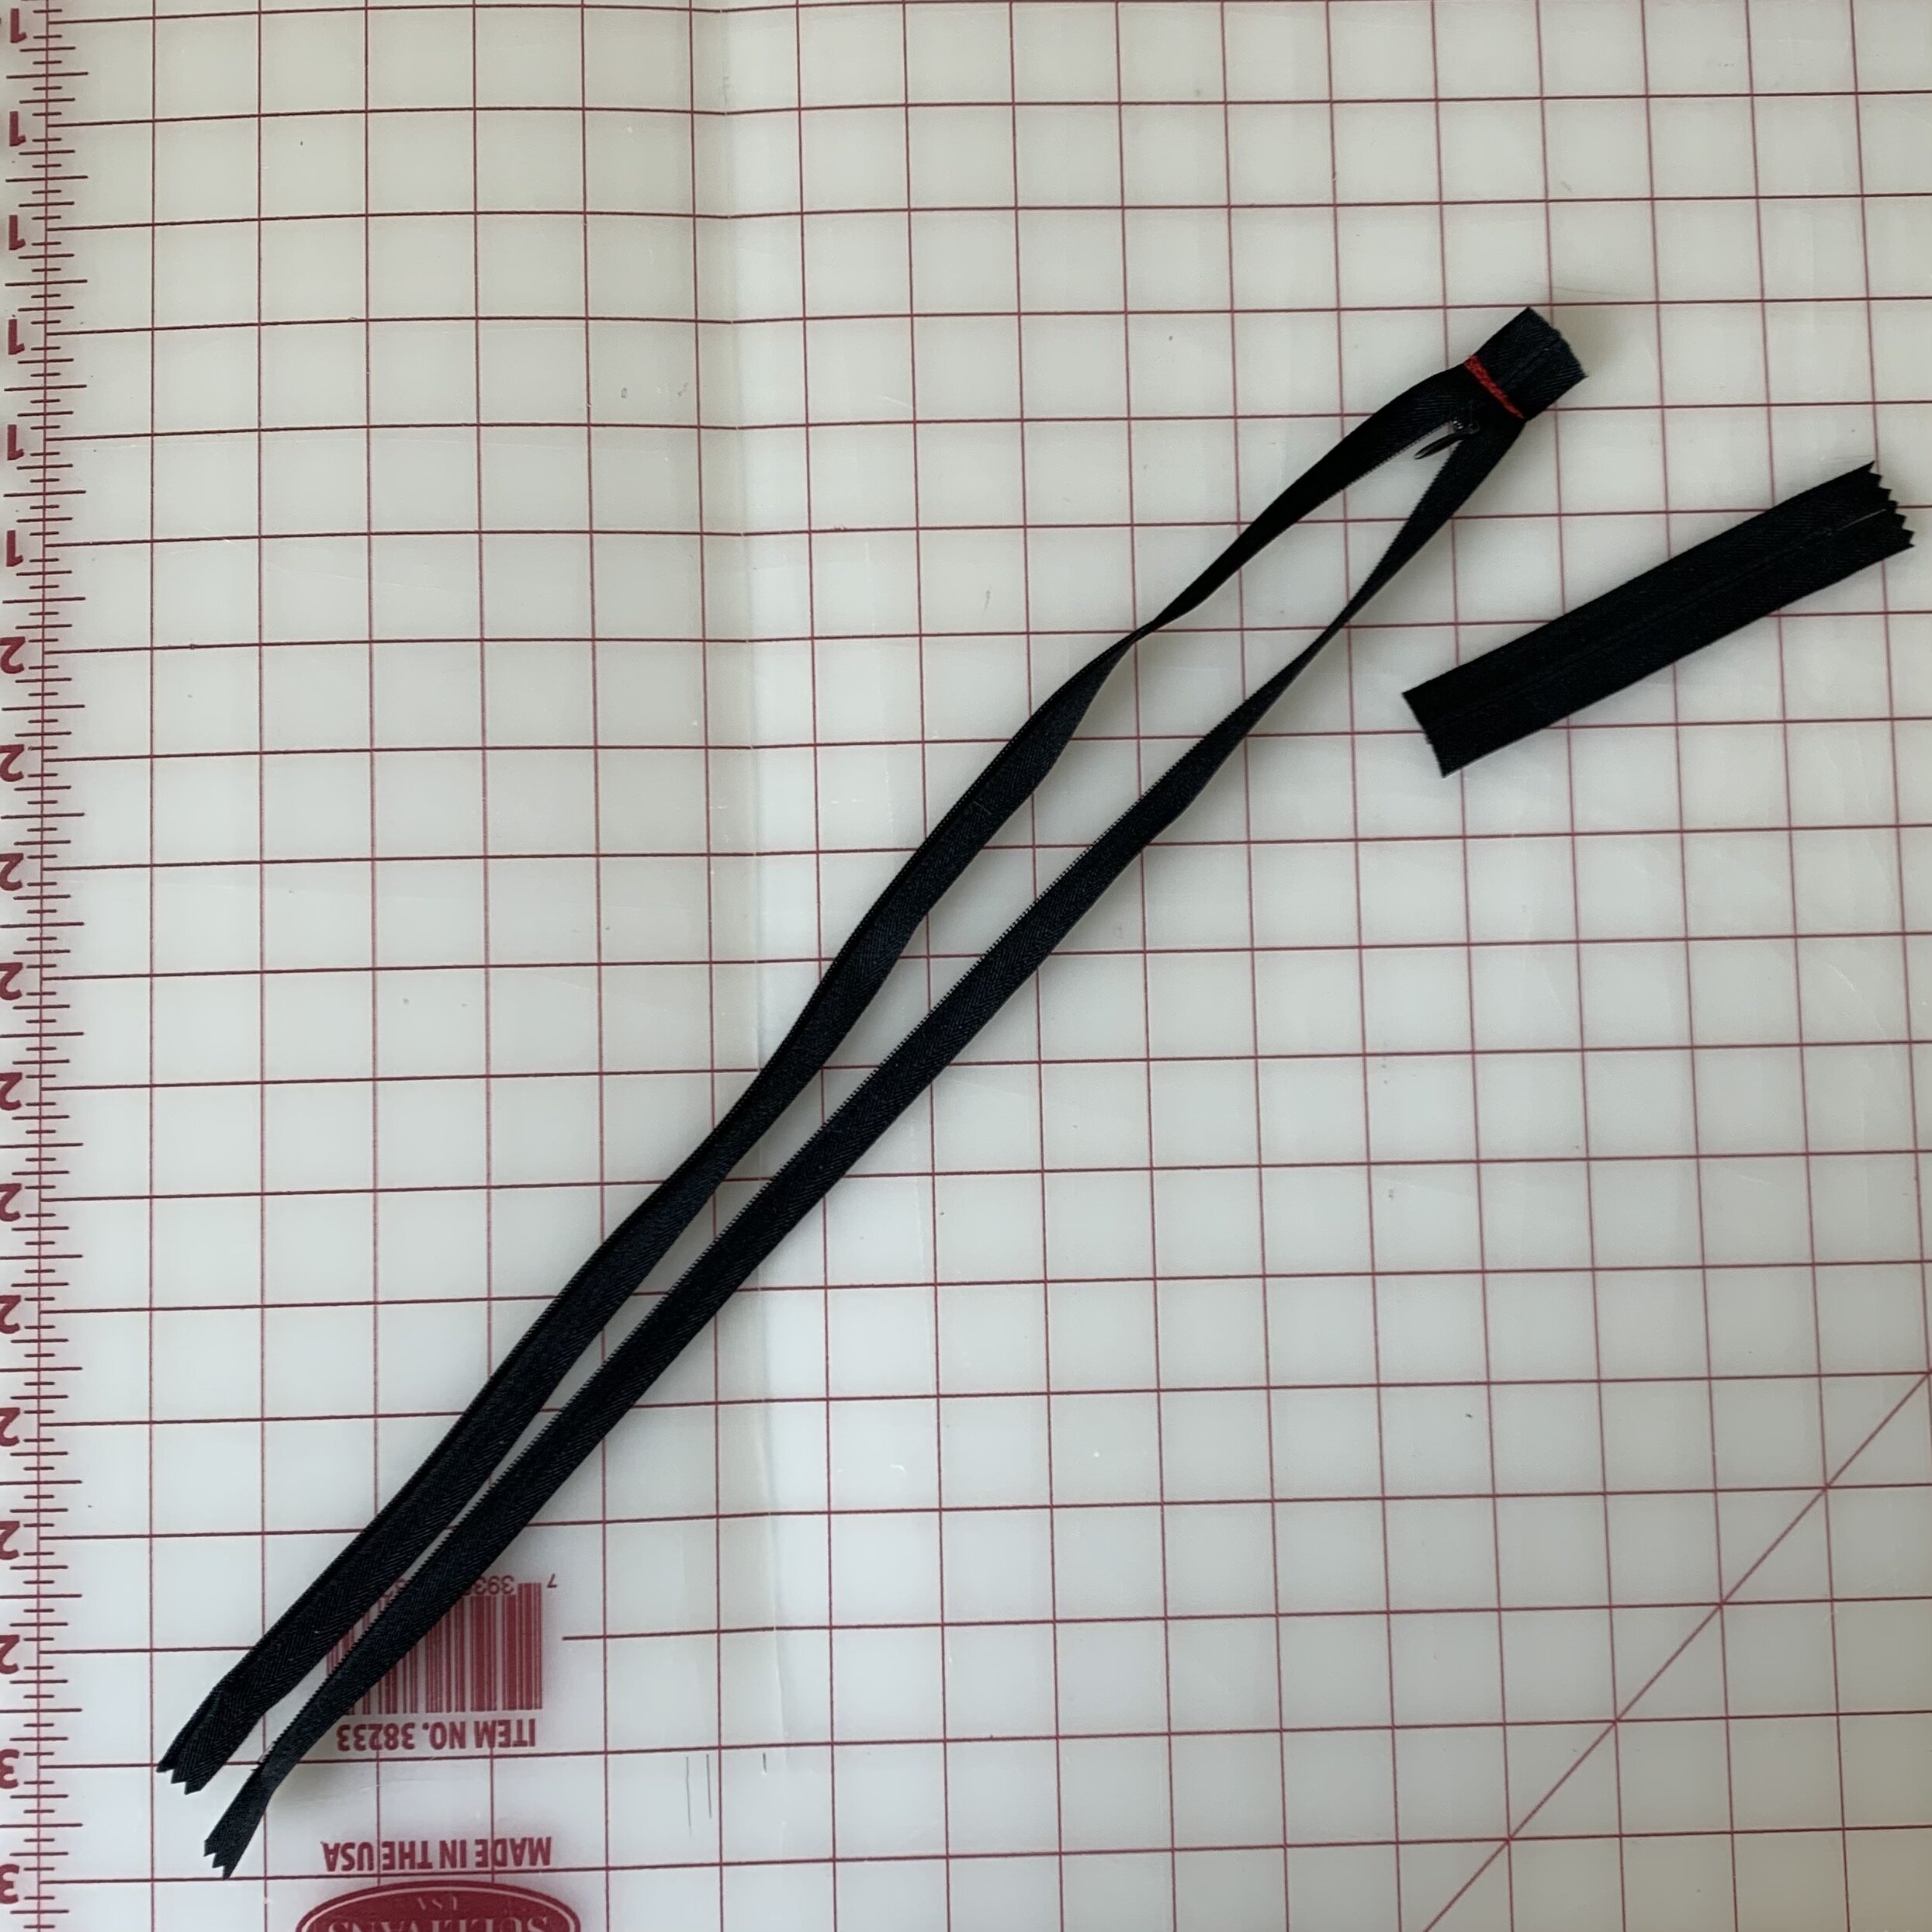
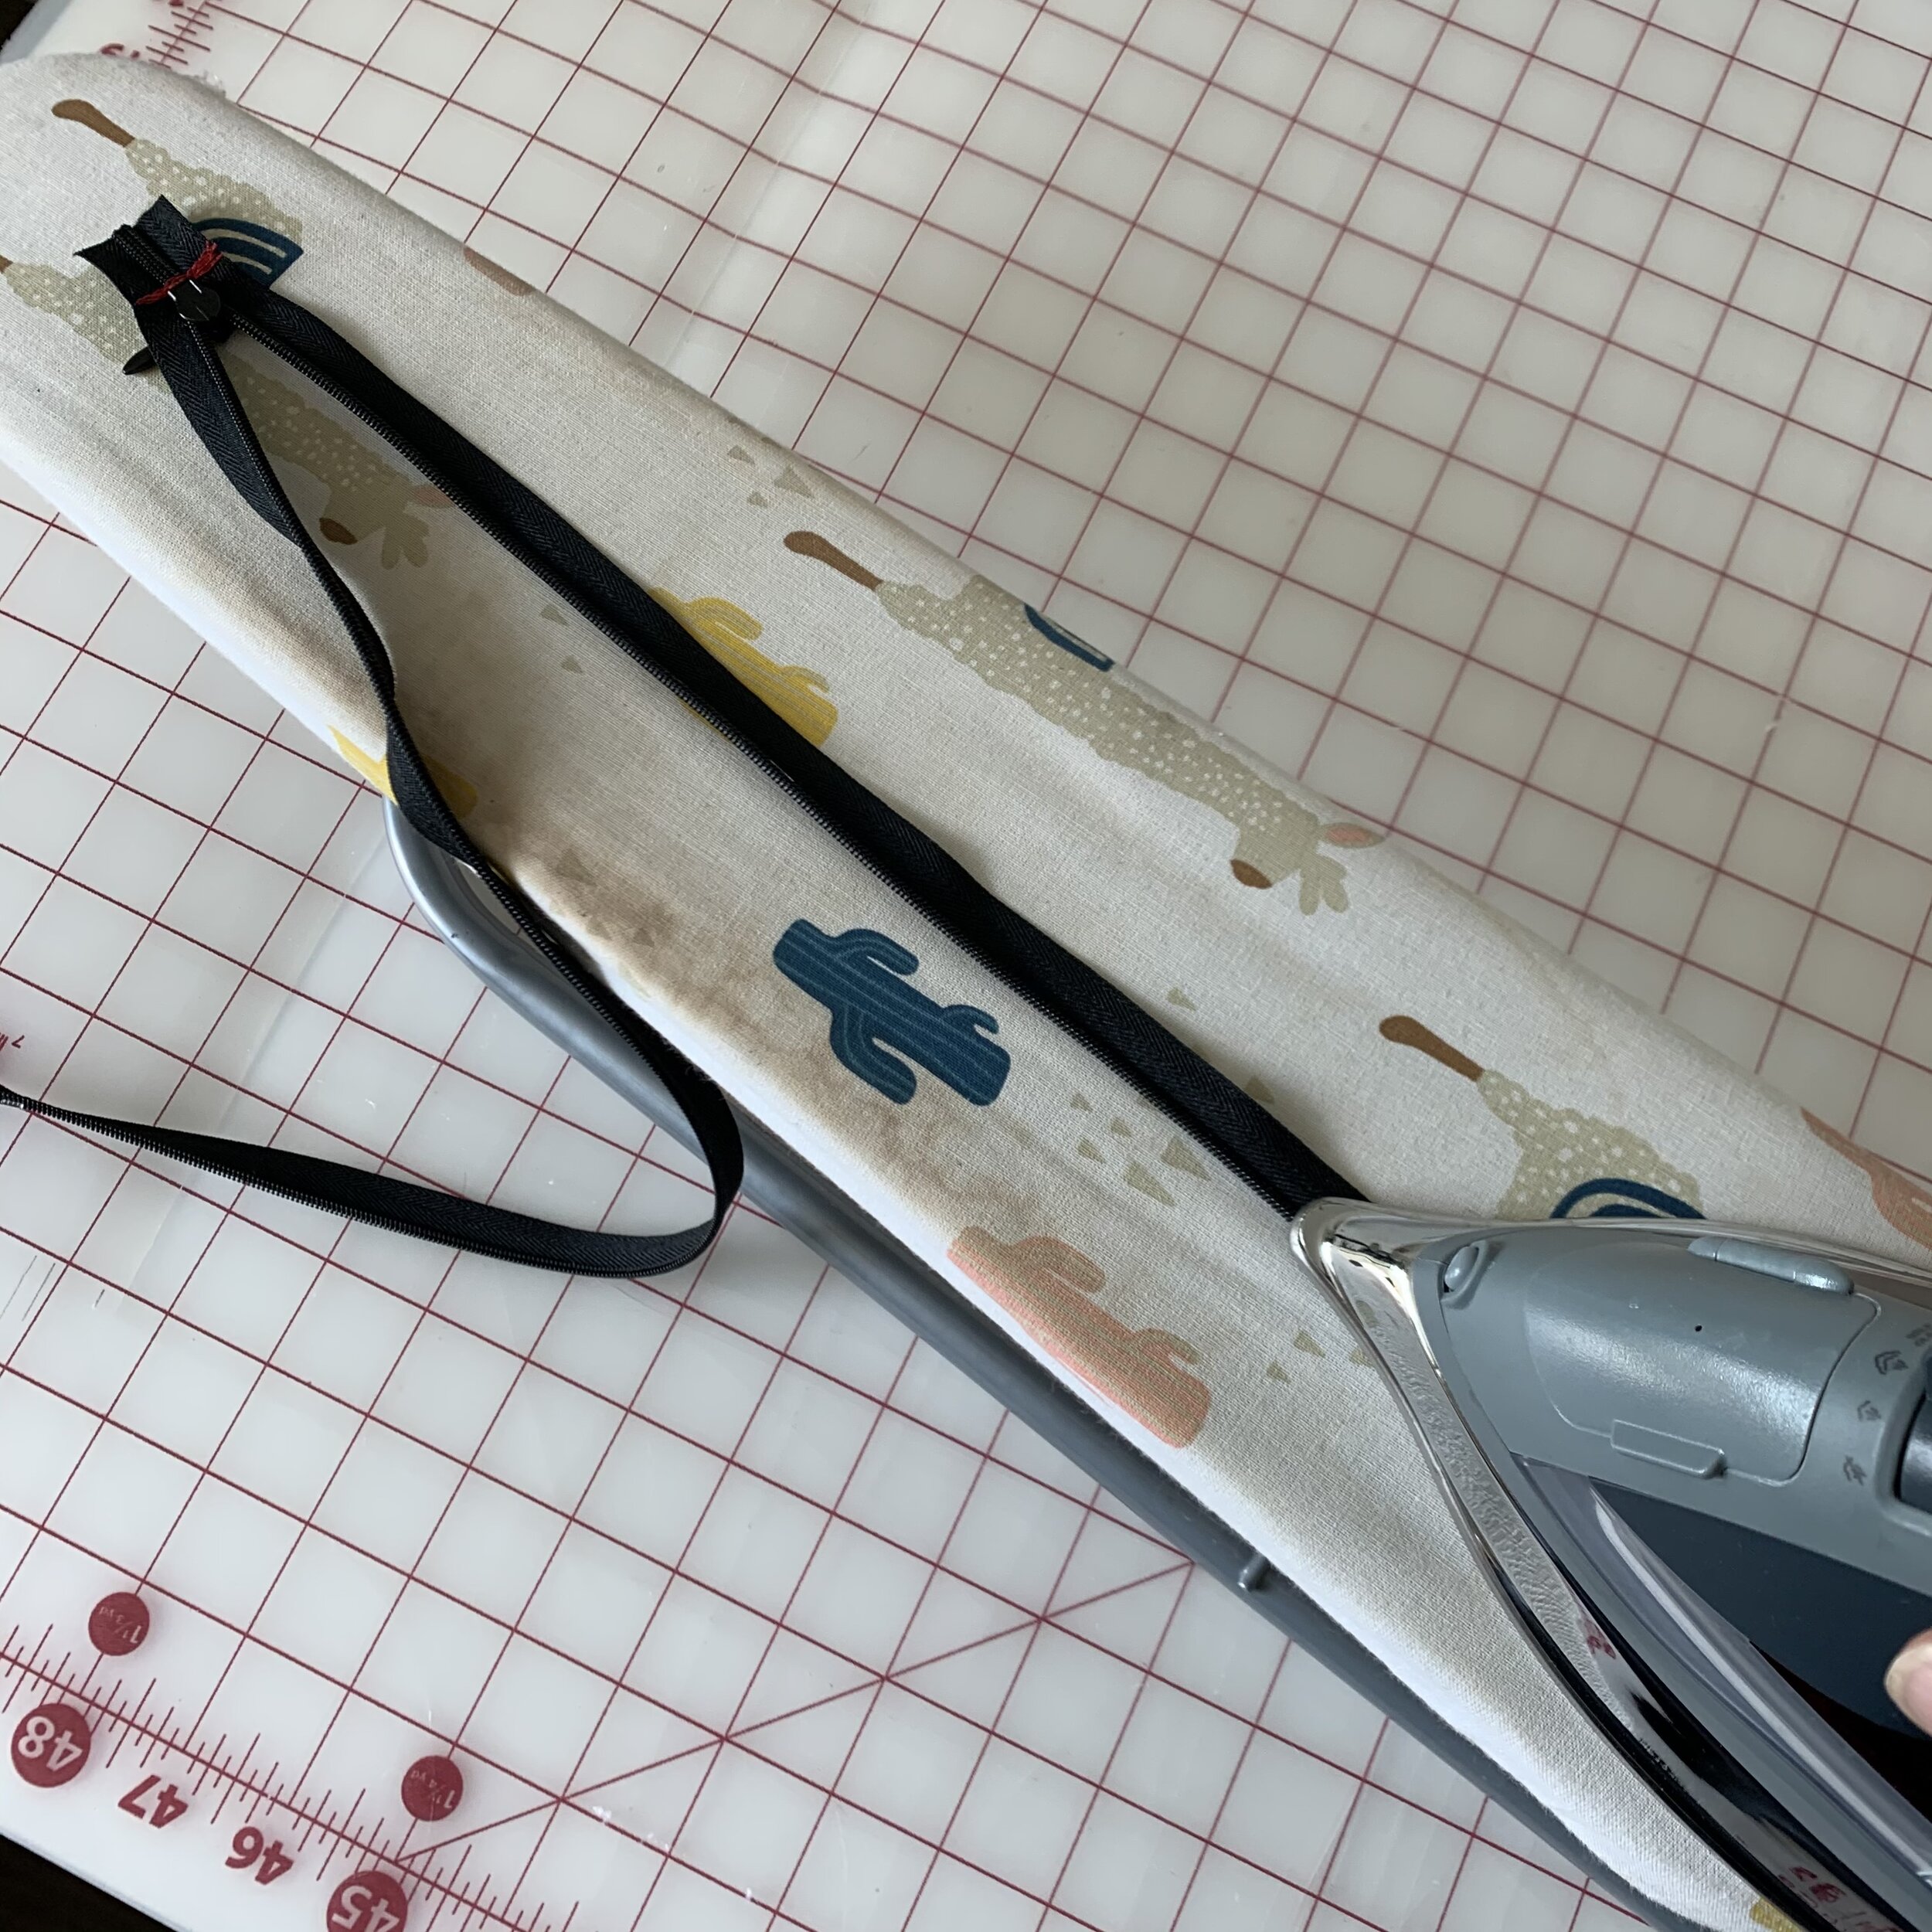
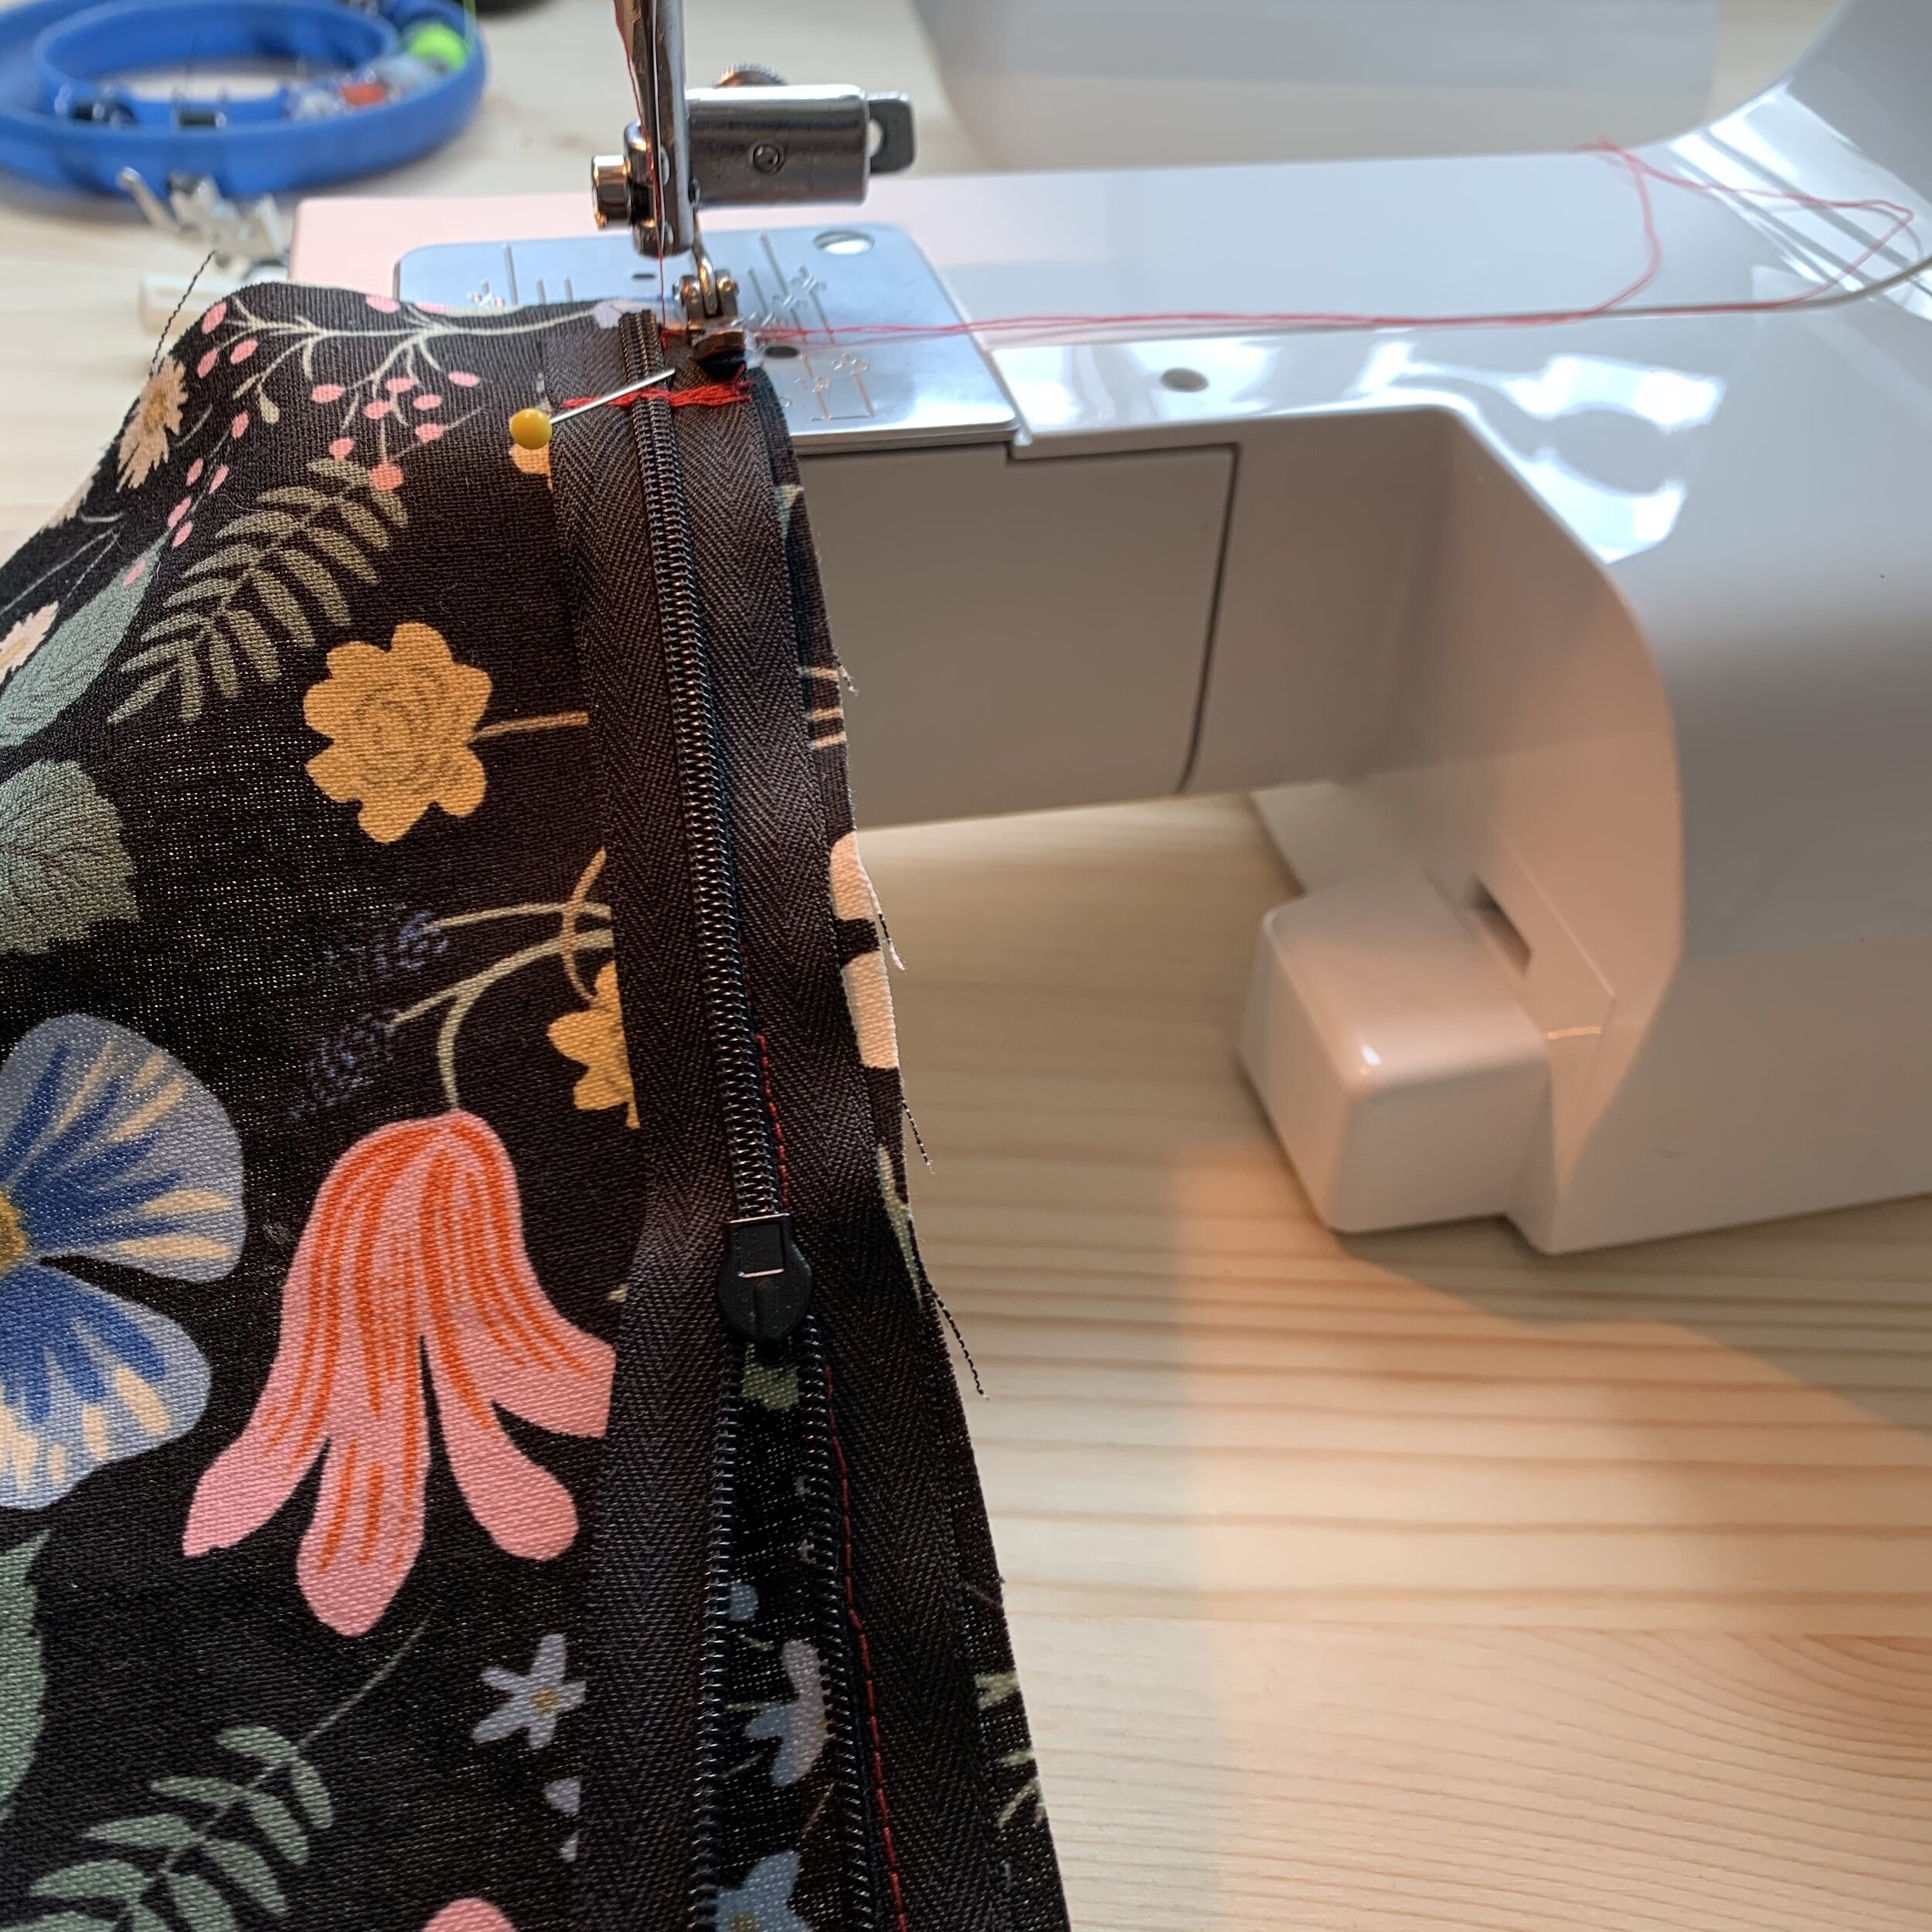
Step 3: Prepare your zipper. So, if you bought an 18” zipper .. skip this. But if you had to buy a longer invisible zipper, you can measure from the top teeth to 18” and stitch back and forth a bunch of times to create a thread zipper stop like in the first picture. Then a trick I learned when working with an invisible zipper, always press the teeth flat before sewing the zipper on. The teeth won’t stay flat, but it will open up the space your needle needs to get to and create a prettier finished piece.
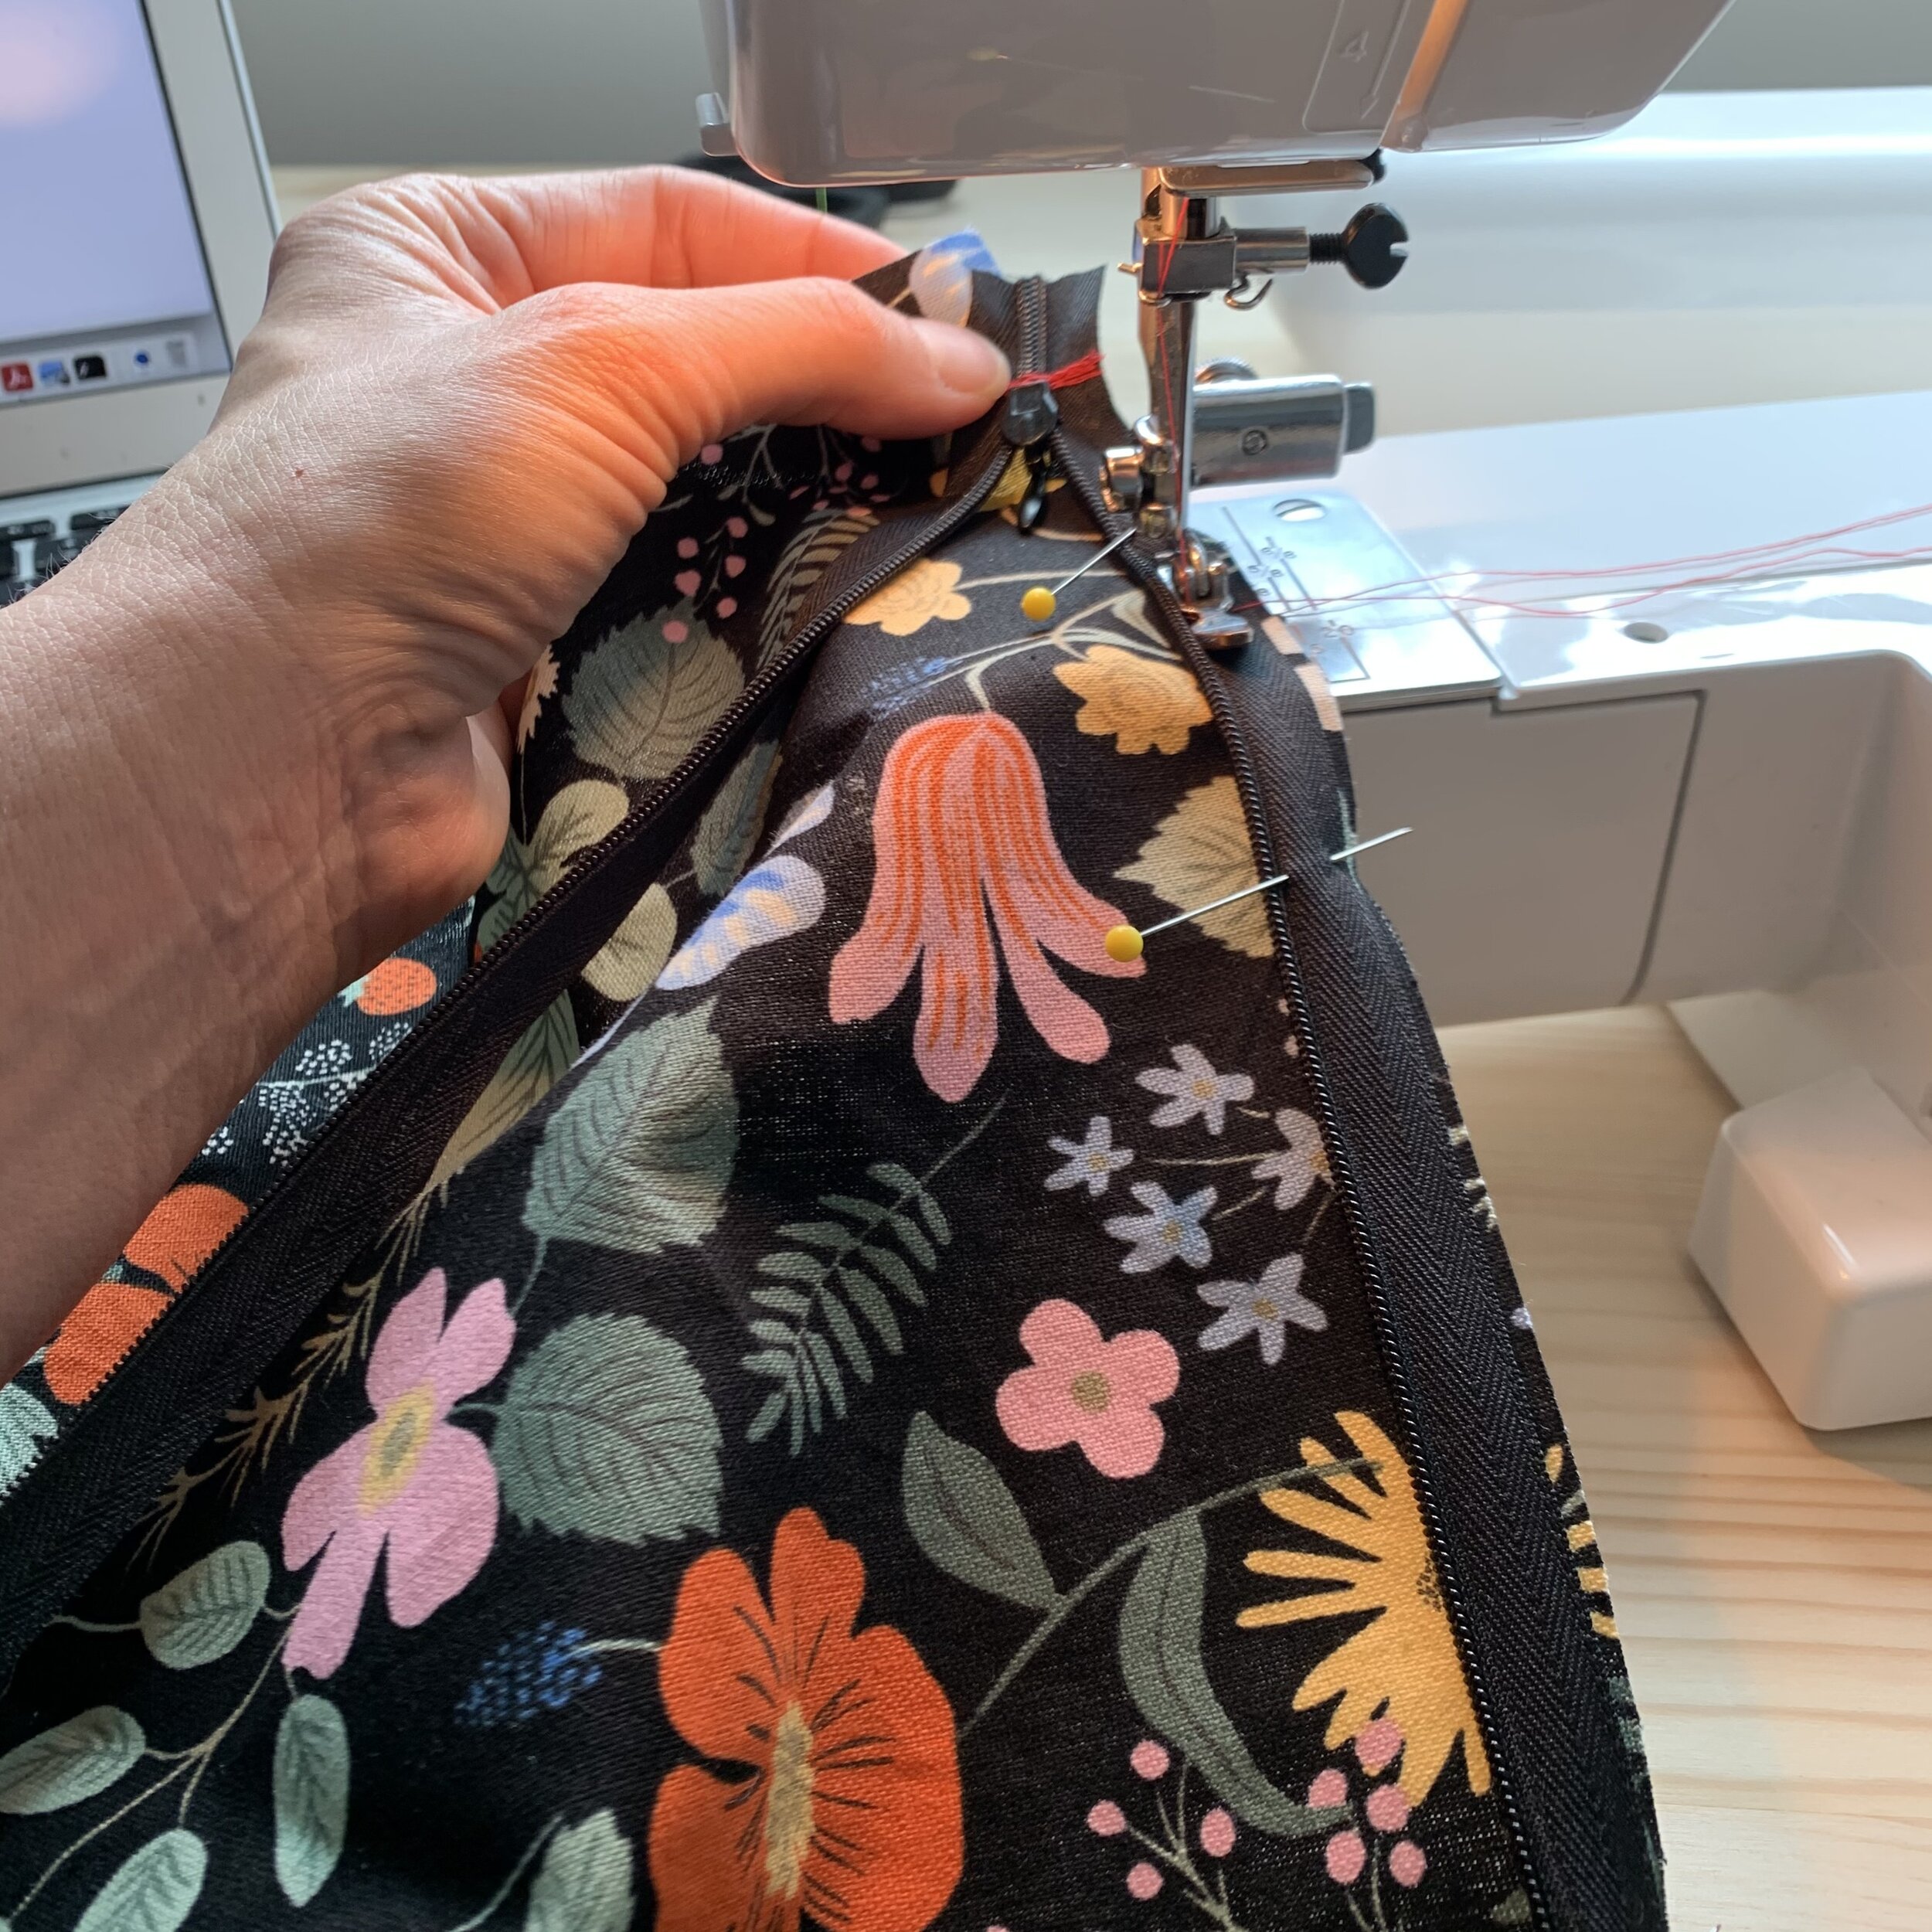
Step 4: attach your zipper. Since this isn’t a garment, I don’t baste the zipper on to the pillow fabric first. I just pin it and sew it. Attach your zipper foot to your machine. Pin your zipper to the bottom of your pillow. (or side - that is your preference) I tend to do a 2 part sew when I sew on an invisible zipper. I sew as much as I can in the first pass avoiding the zipper head. Then I move the zipper head and sew the rest. I sew as close as possible to the zipper teeth.
Step 5: Draw your sewing lines, throw some pins in it and sew at a 1/2” seam allowance. I like to start my seam just a little farther than the zipper start and stop. I just like the way it looks. But you can stop and start right at the zipper start and stop. That is a design decision.
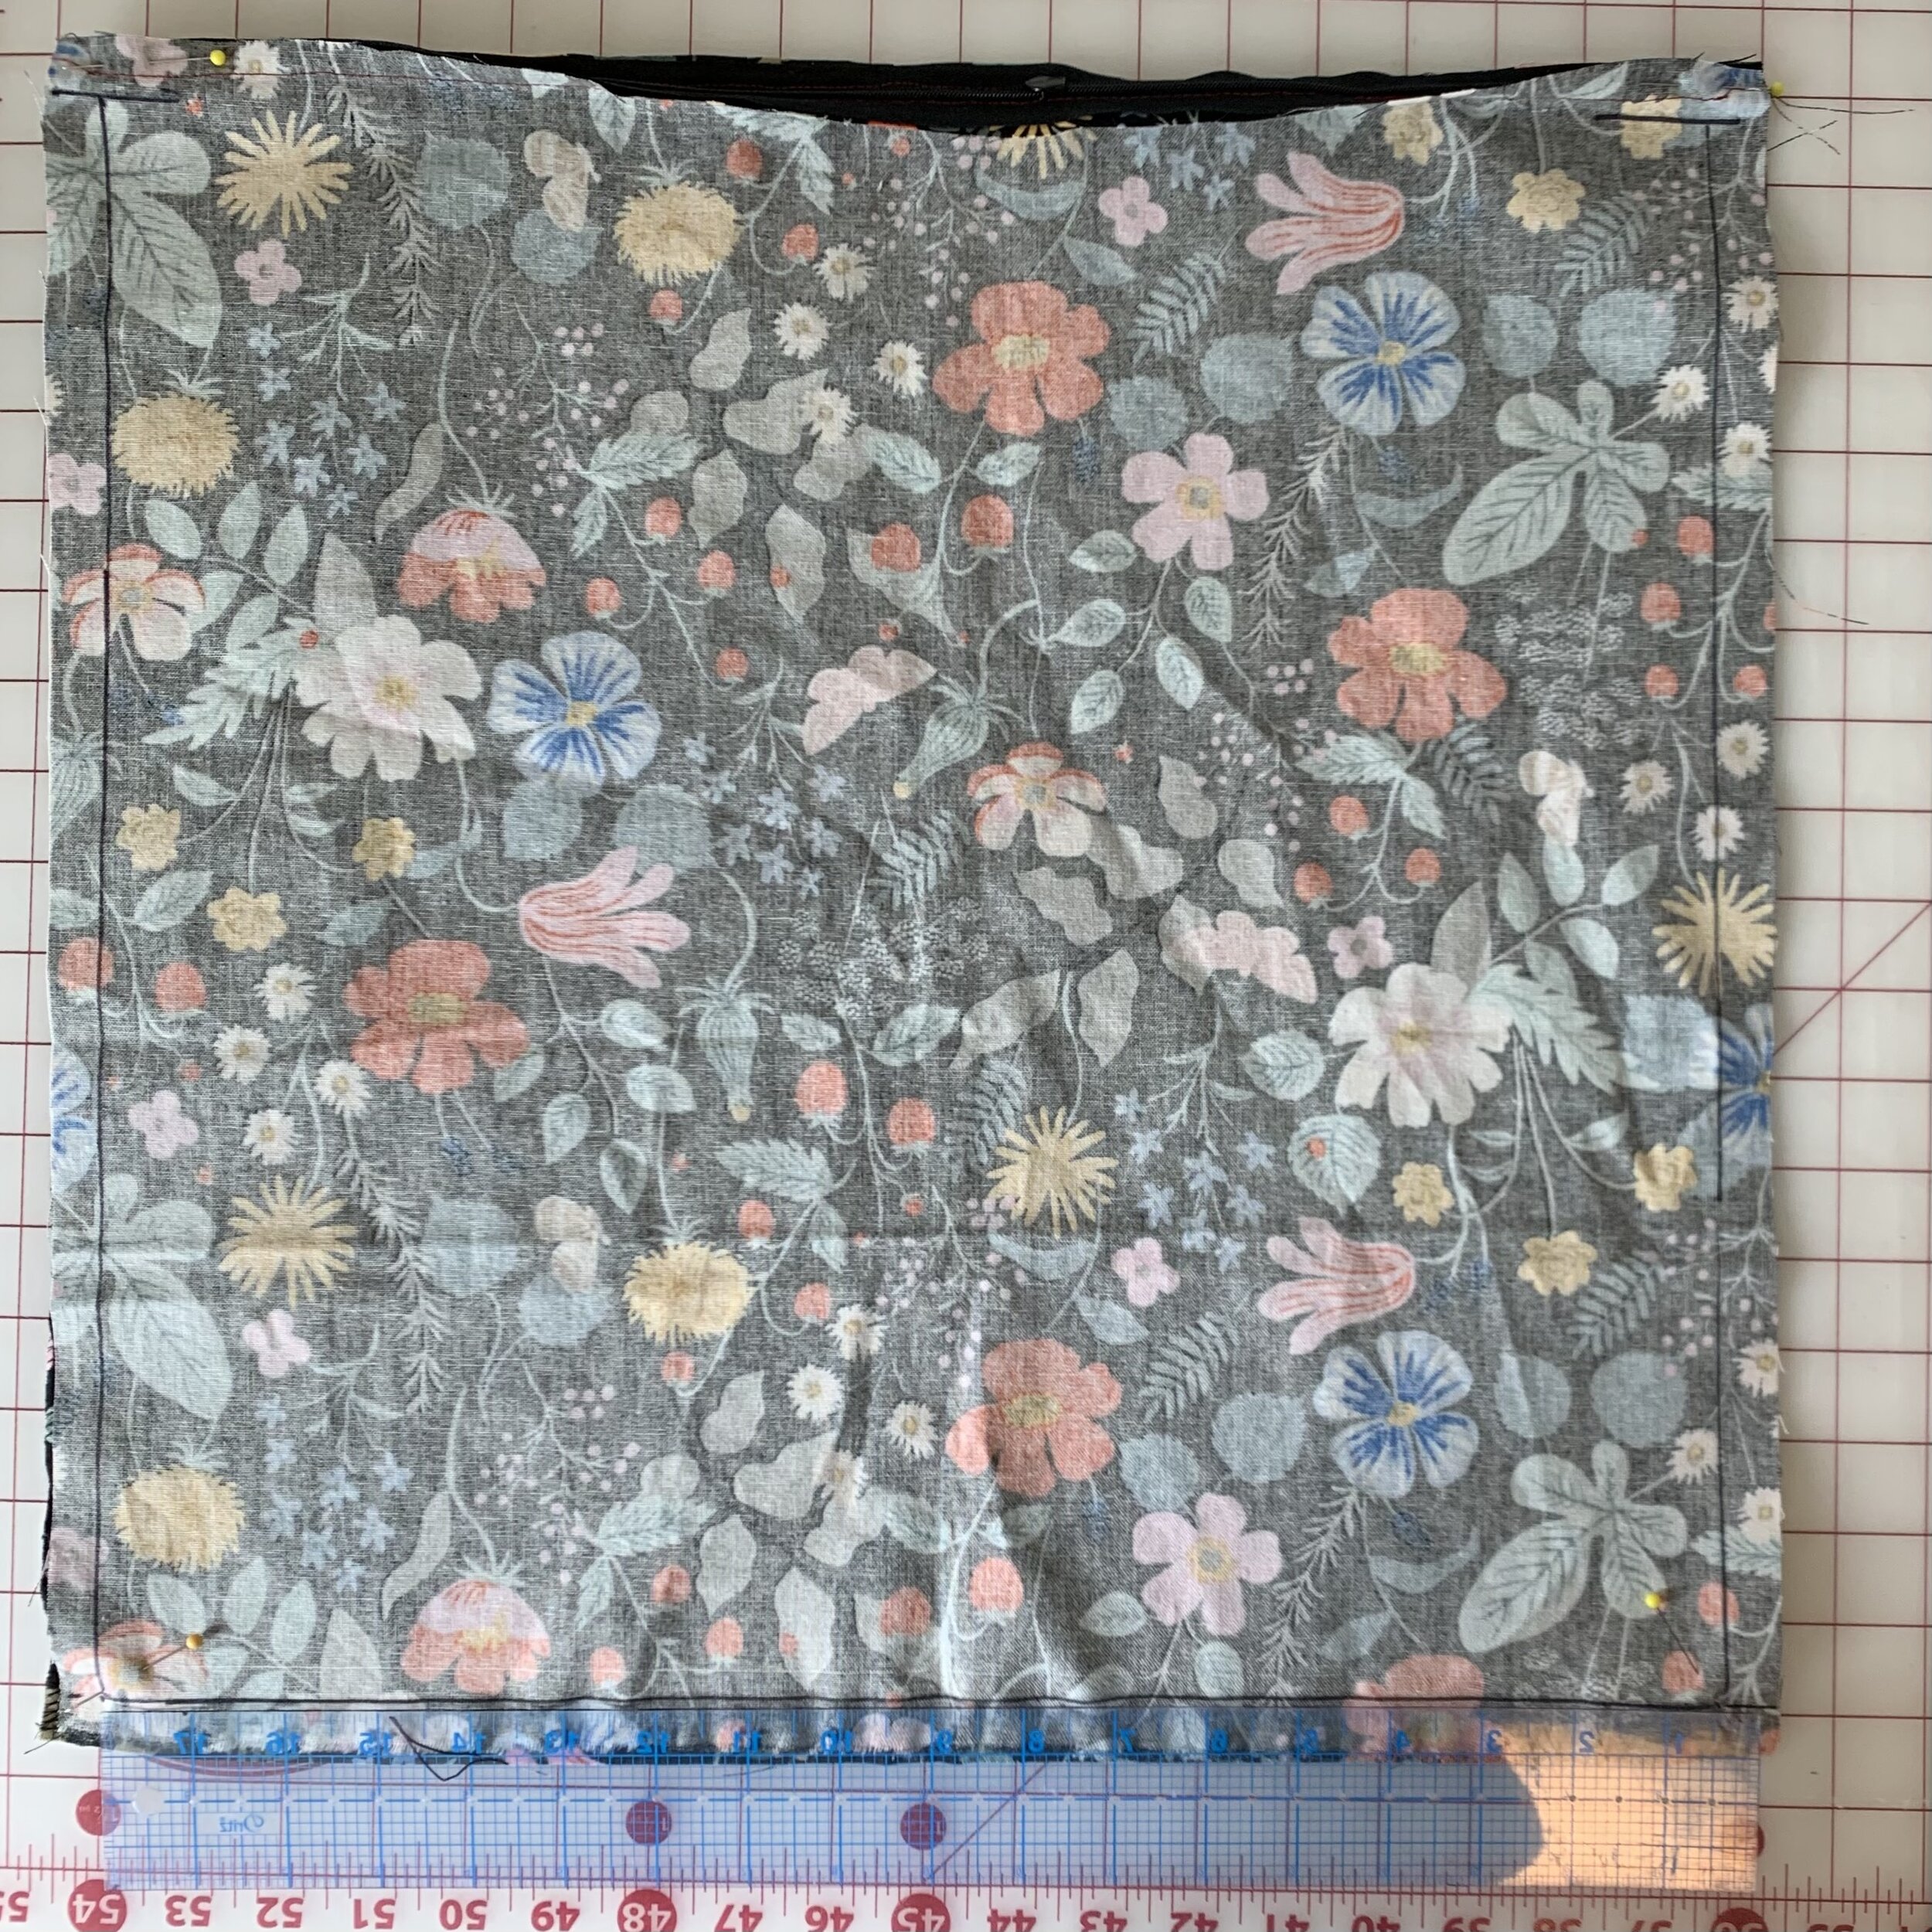
Step 6: Trim your corners at the diagonal and turn your pillow cover right side out.
Thanks you! For joining me for this quick tutorial!! Please share your 30 minute room do-overs and be sure to tag @commonsewing #commonsewing. If you are longing to learn more about sewing or have a friend who has always wanted to try, please check out my fun and easy online learn-everything-you-need-to-be-a-maker sewing series! And, always, happy sewing!!! -Bonnie