How to adjust a waistband on a men’s style tailored trouser.
Altering a waist band on a tailored trouser is surprisingly easy. I am going to quickly walk you through the steps to get a perfect fit! This tutorial is focused on one-piece waistbands like you see in men’s tailored trousers.
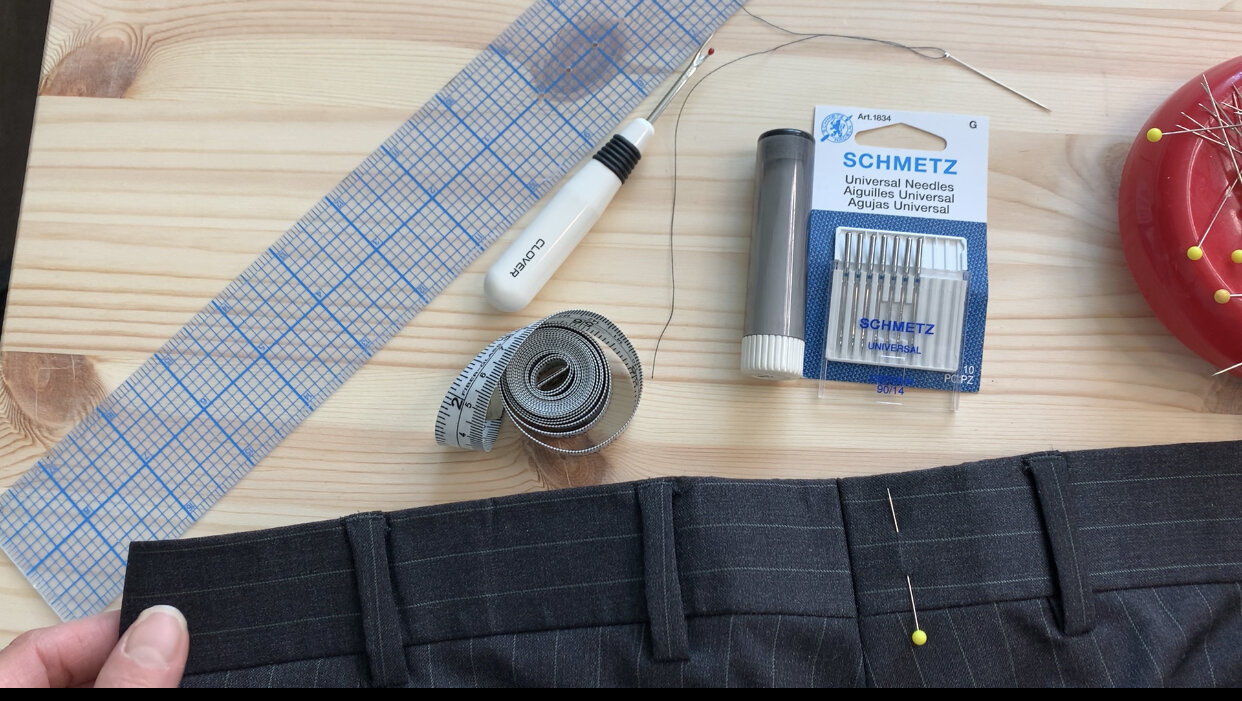
First things first, your supplies. You will need a sewing machine, proper needles for the weight of your fabric (I always use schmetz needles), a hand sewing needle, chalk or an erasable pen, measuring tape & a ruler, pins and a seam ripper.
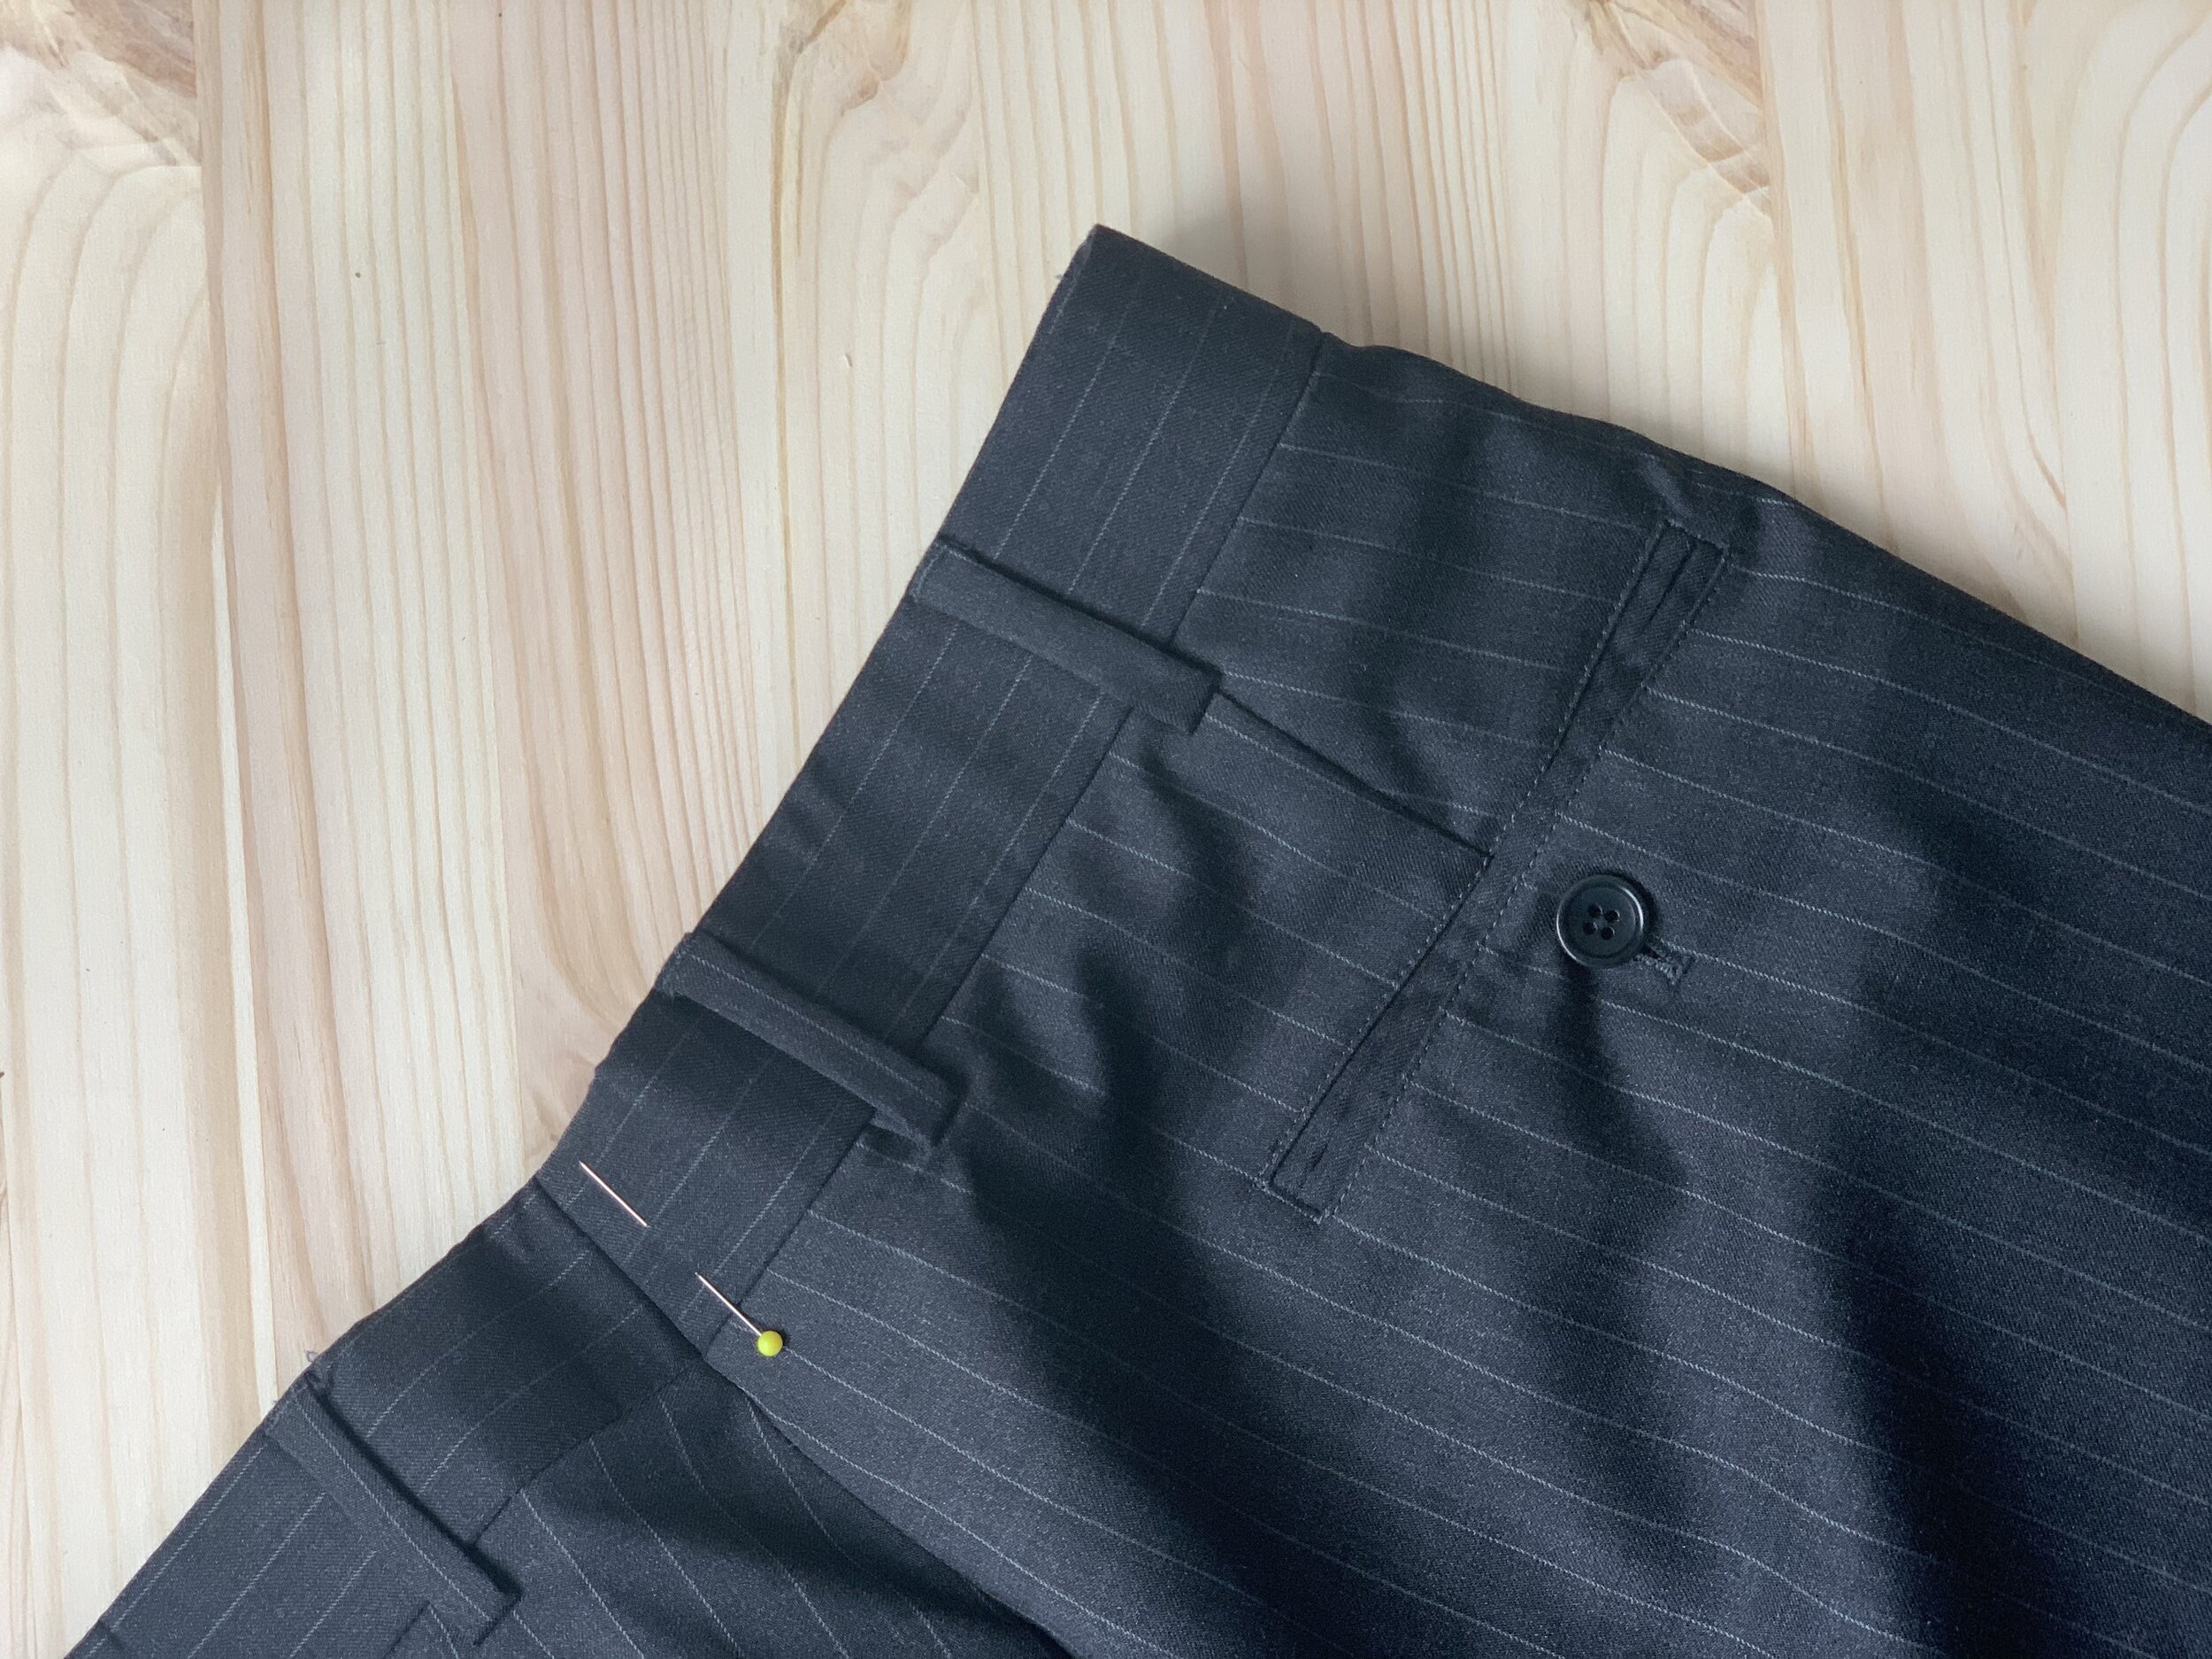
You need to pin the pants to yourself or to your person. Every pair of pants is slightly different and the fit varies with the cut. I never skip this step - even when tailoring for men who insist ‘I am always a 32…’ So, put the pants on. Simply pinch the waistband at the place where you want it to sit on the hip and as tight as it feels comfortable but is also tight to the body. You can mark your pinch by either pinning it or by marking it with your chalk.
Now that you have marked your alteration, Let’s go through the steps.
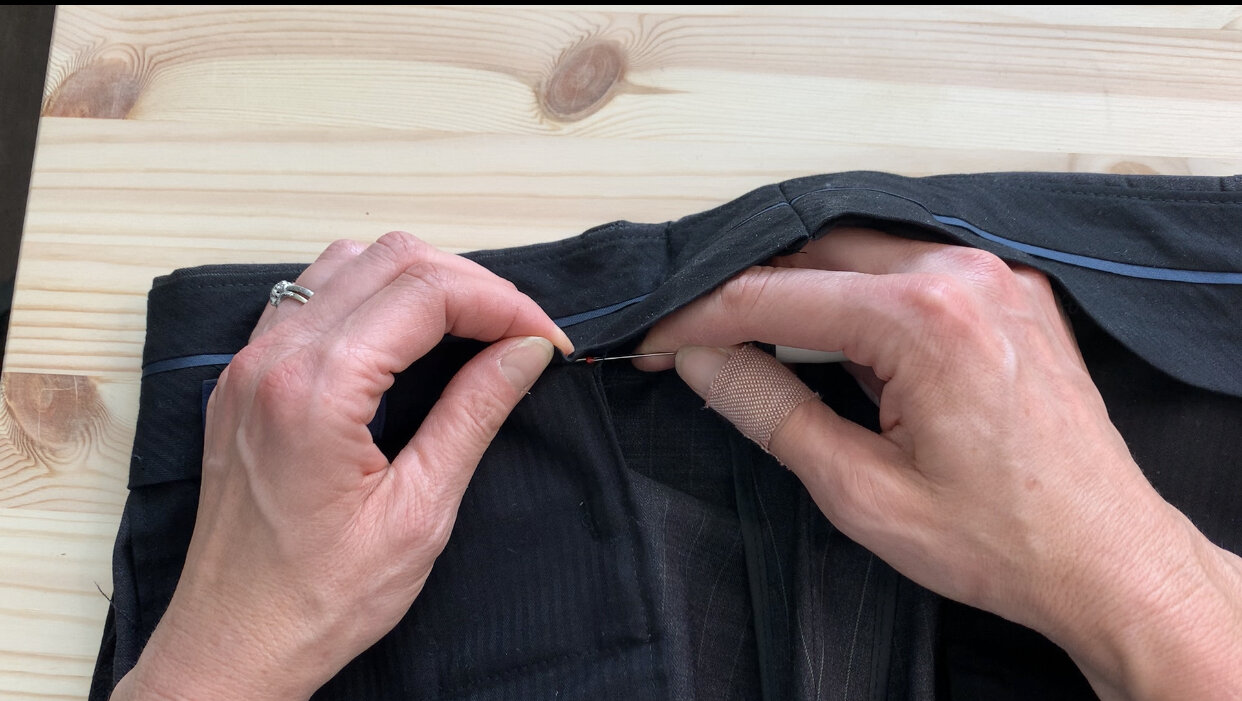
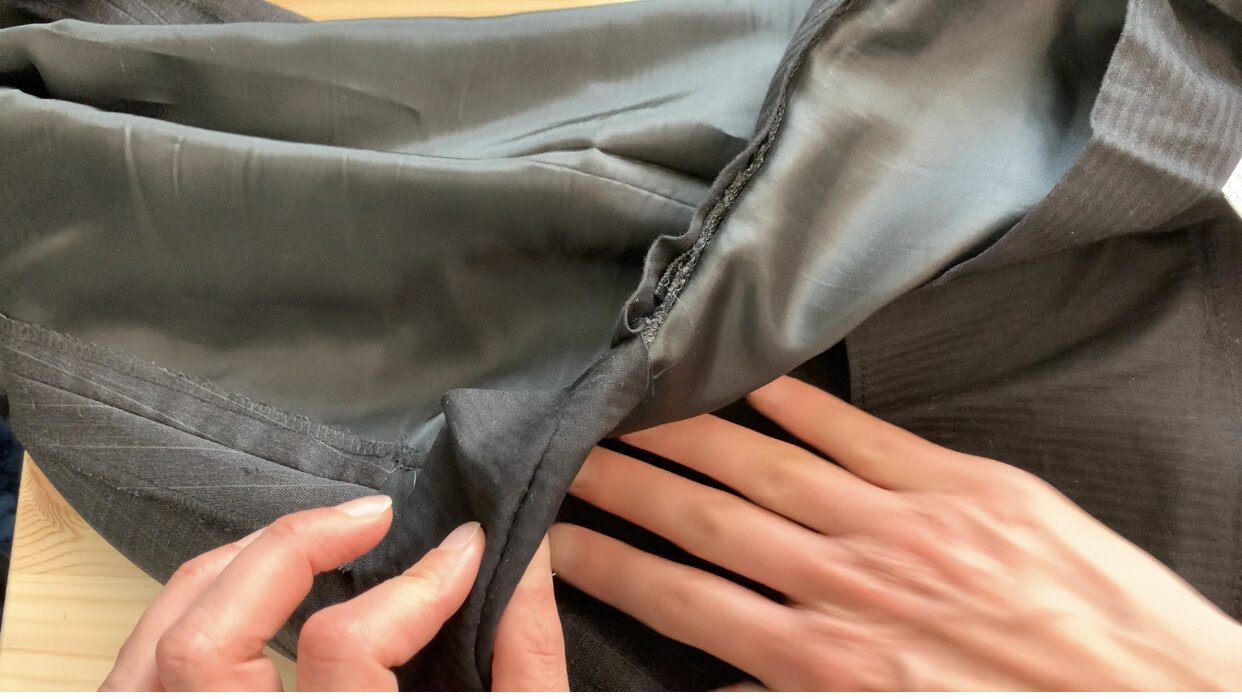
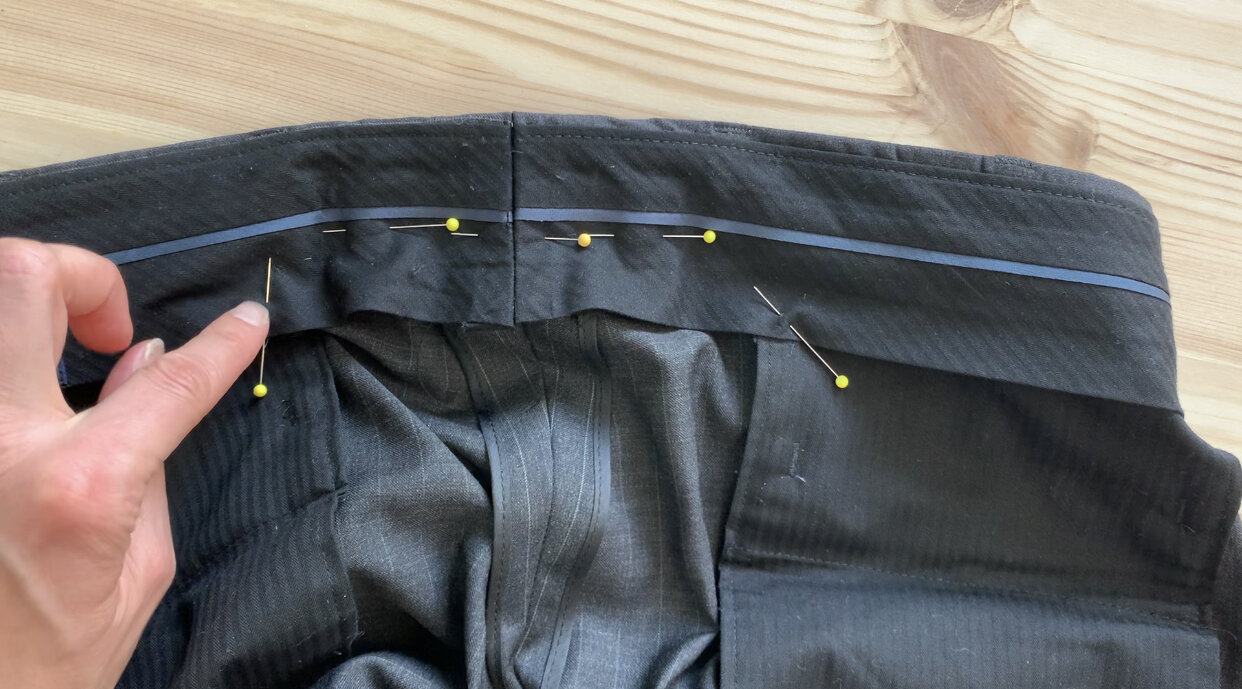
Step 1: Pluck out the tacking stitches and the invisible stitch attaching the waistband to the pant. You really don’t have to open up the entire waistband to do a minor alteration. Just 2” or so on either side so you can fold it out flat and work on it.
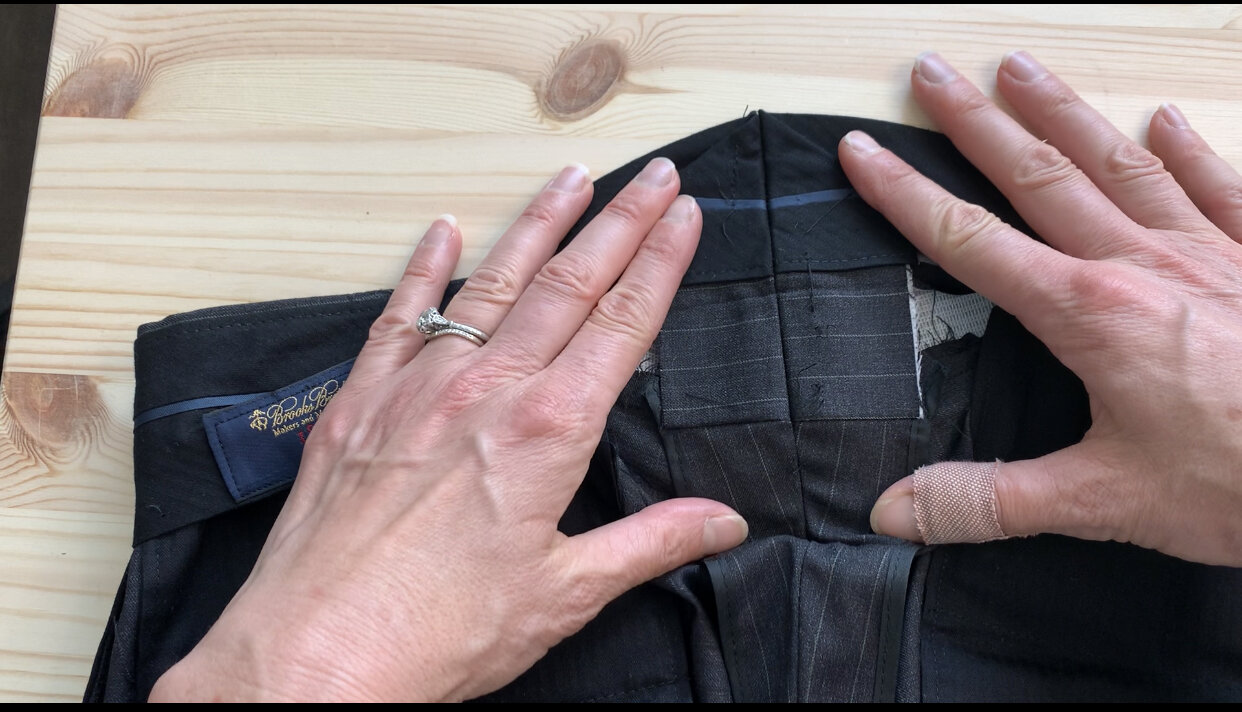
Step 2: With the pants inside out, slide one leg into the other leg. This will make the waistband lie flatter for sewing and make your alteration easier.
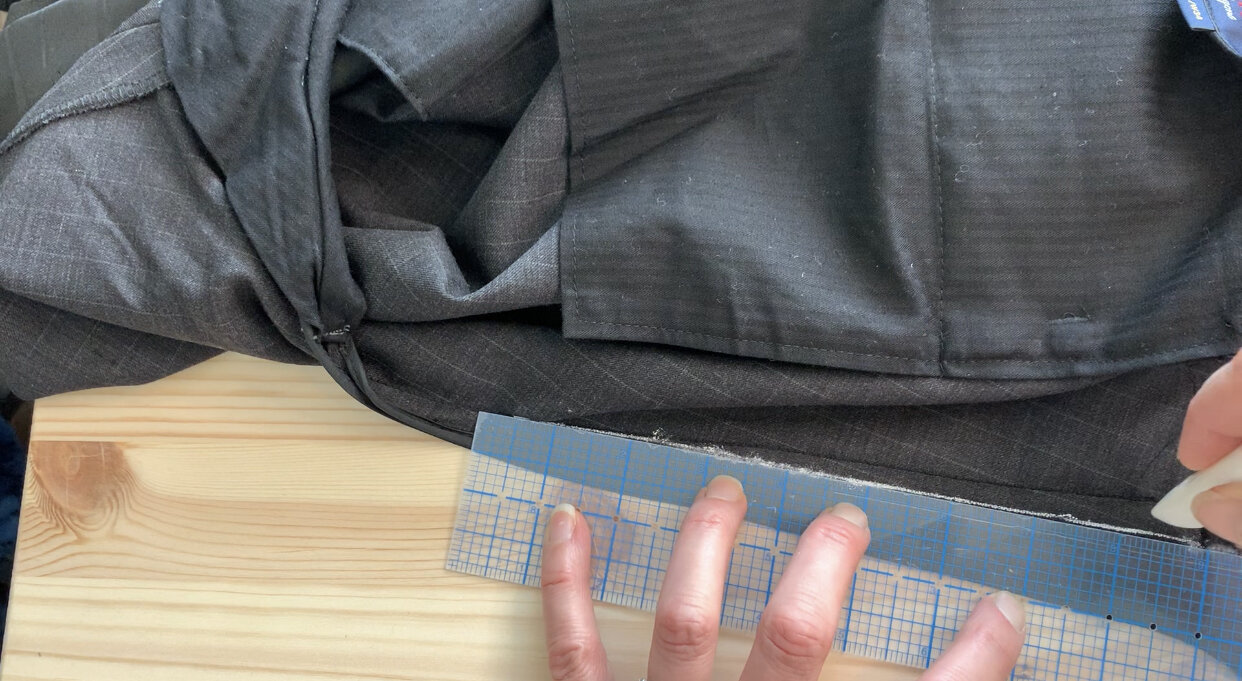
Step 3: Mark your alteration. I always draw my sewing line - it just assures a more beautiful stitch.
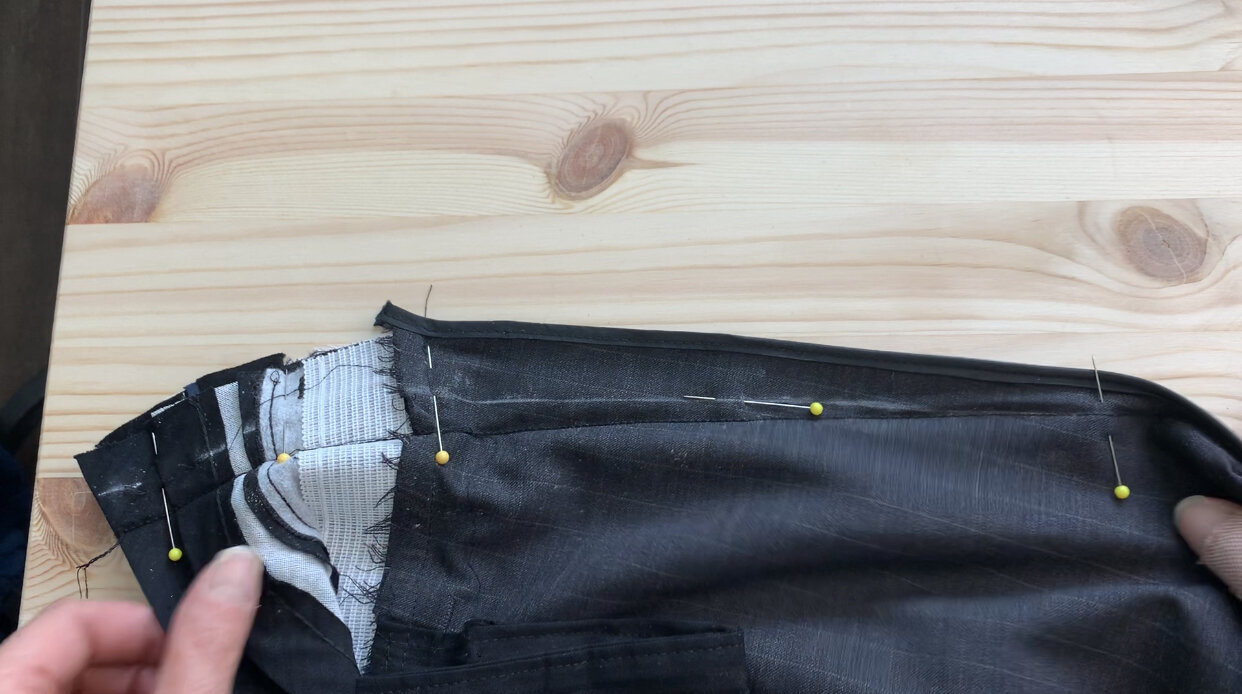
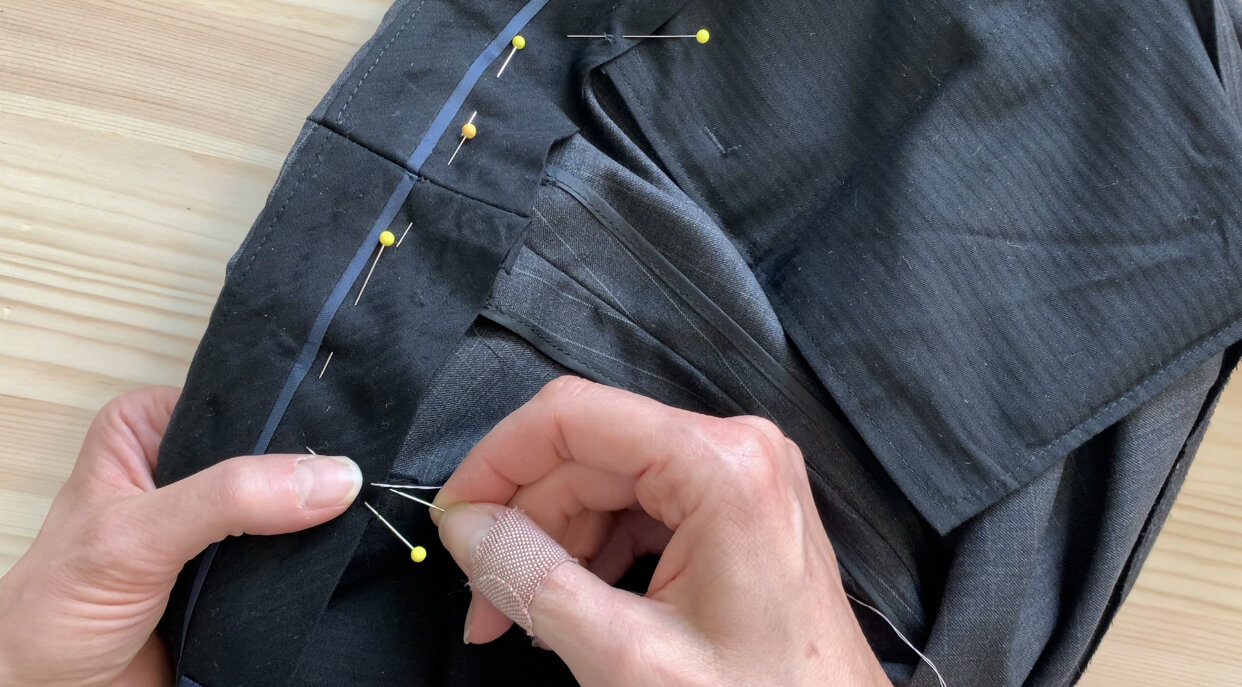
Step 4: Pin. I like to place cross pins at the points where the waistband meets the pant to hold the fabric in place for sewing. Your waistband can shift while you sew it and I hate the look of a 1/8” shift in the seam at the waistband.
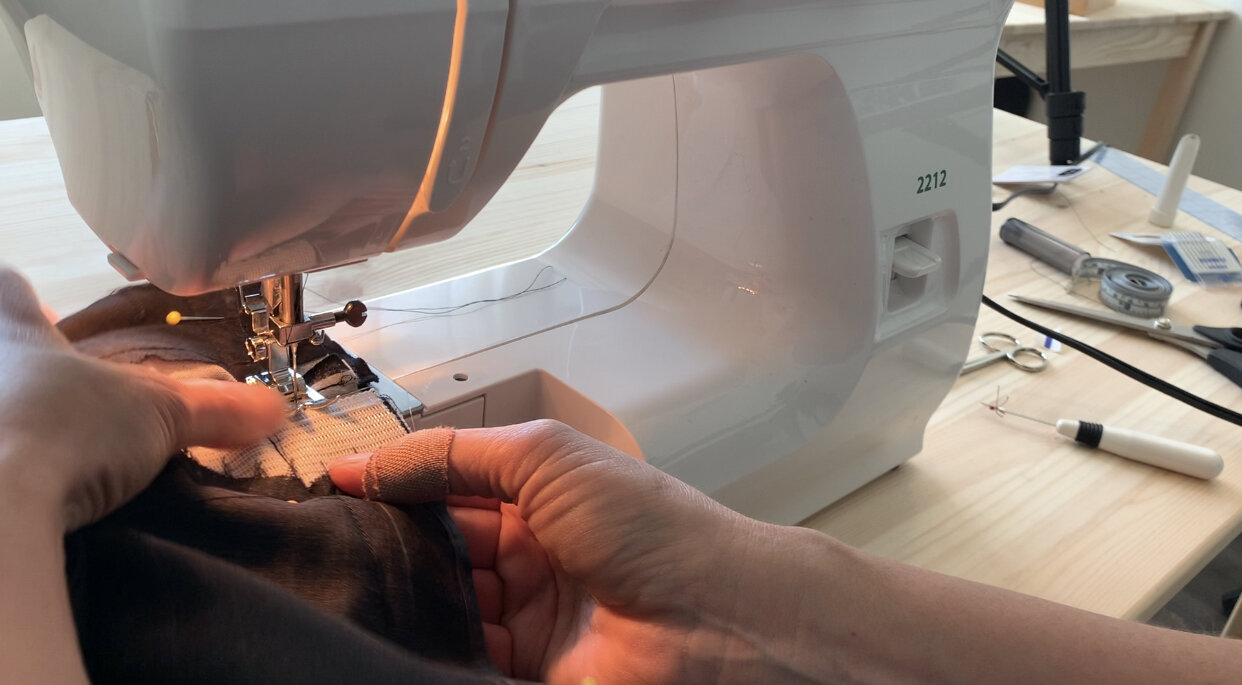
Step 5: Sew your marked alteration. I always sew my butt seams twice. Stitch twice - blowout never is my motto here.

Step 6: Remove the old stitching from you back rise and waistband and press your seam open.
Step 7: Fold you waistband over and pin it in place for stitching.
Step 8: Tack your waistband to your pants at the out edge of the pocket bag - this should be where the original tacking was.
Step 9: Run a slip stitch under the facing attaching the facing to the pant waistband.
Step 10: Press your new waistband and enjoy your pants!!
Thanks for joining me for this quick alterations tutorial! I would love to see your refashions! Please if you post your work, tag @commonsewing & #commonsewing so I can cheer on your tailoring! Happy sewing, Bonnie