How to sew an invisible zipper - step-by-step instructions with photos.
I was recently invited to a wedding. A dear friend of mine and the love of her life got married at a gorgeous lakeside spot. I received my invitation a good 6 months ahead of time and was dying to attend. Week of the ceremony I realized that I did not have a dress. I mean … I had plenty of dresses. I also, like all of us, had been comfort eating and drinking 2020 and a good bit of 2021. So I needed a dress, a beautiful one and I needed it quickly.
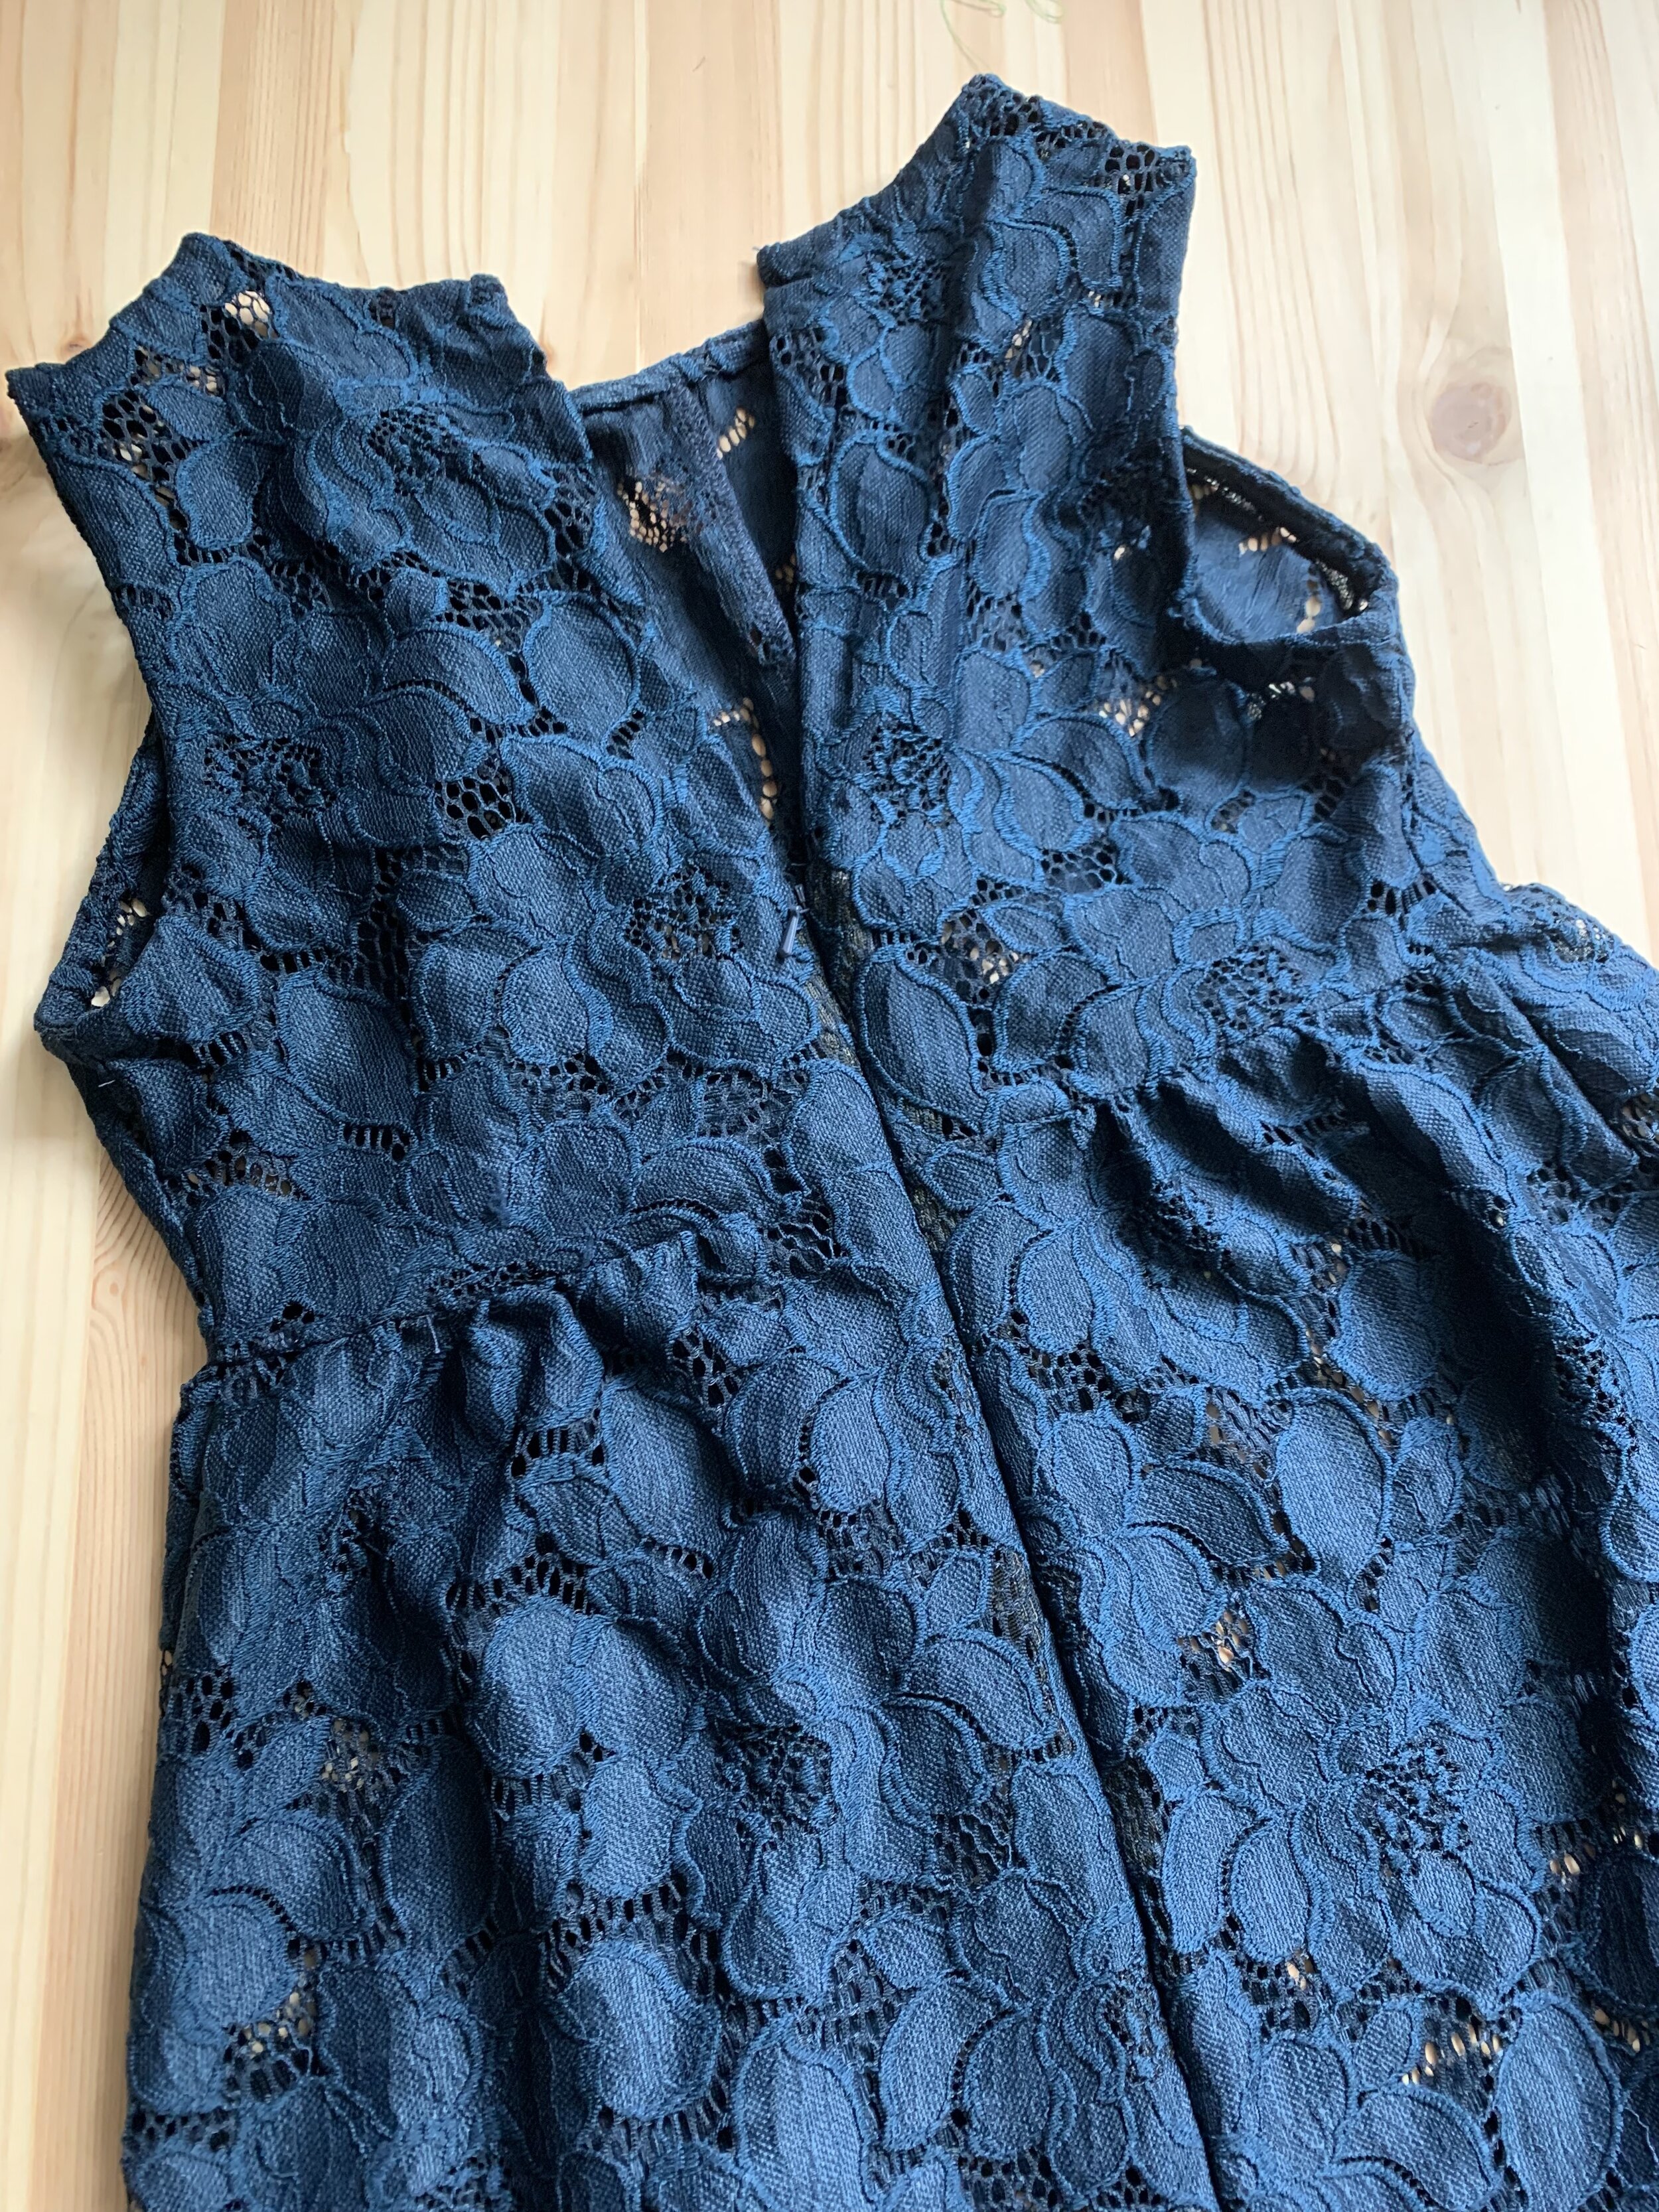
I had been eyening the Papercut Patterns Meridian Dress for a while. I had seen one that had been modified to be sleeveless and decided to give it a go. I popped over to my local fabric store and found this pretty navy stretch lace that seemed both elegant and …. forgiving. I picked up my thread and invisible zipper. A few late nights sewing after tuck in and I had a dress I loved dancing the night away in.


So the dress went together so easily and the fit was perfect. Putting this one together, I thought I might share my technique for sewing in invisible zippers. I don’t remember what show or shoot I was on when some astounding tailor shared their technique with me … but I do remember the Diane Von Furstenburg show when it saved my life and let me go home before sunrise to get a minute of sleep before the models walked the runway.
I don’t remember what year it was, but I remember that I was tailoring with 3 tailors I worshipped. We were in the Meatpacking District of Manhattan in Diane’s flagship showroom/studio/home. We were on the 3rd floor just beneath her living quarters. It was the night before her NYFW show and we were putting the finishing touches on the gowns that had been fitted to the models throughout the week. One chiffon gown needed its zipper moved. Three tailors tried and the zipper kept sitting funny in the dress. It just wasn’t right. (moral of this short story … we all struggle sometimes) I was the last to give it a go. It was the last gown on the rack. And we were tired. I used all of the steps I am going to share with you and the gown was perfect. I hope you enjoy these tailor’s tips!
Supplies:
invisible zipper
zipper foot
sewing machine
project
thread to match
iron and ironing board
fusible interfacing (I love pellon easy-knit EK130 for everything)
ruler, seam ripper, scissors
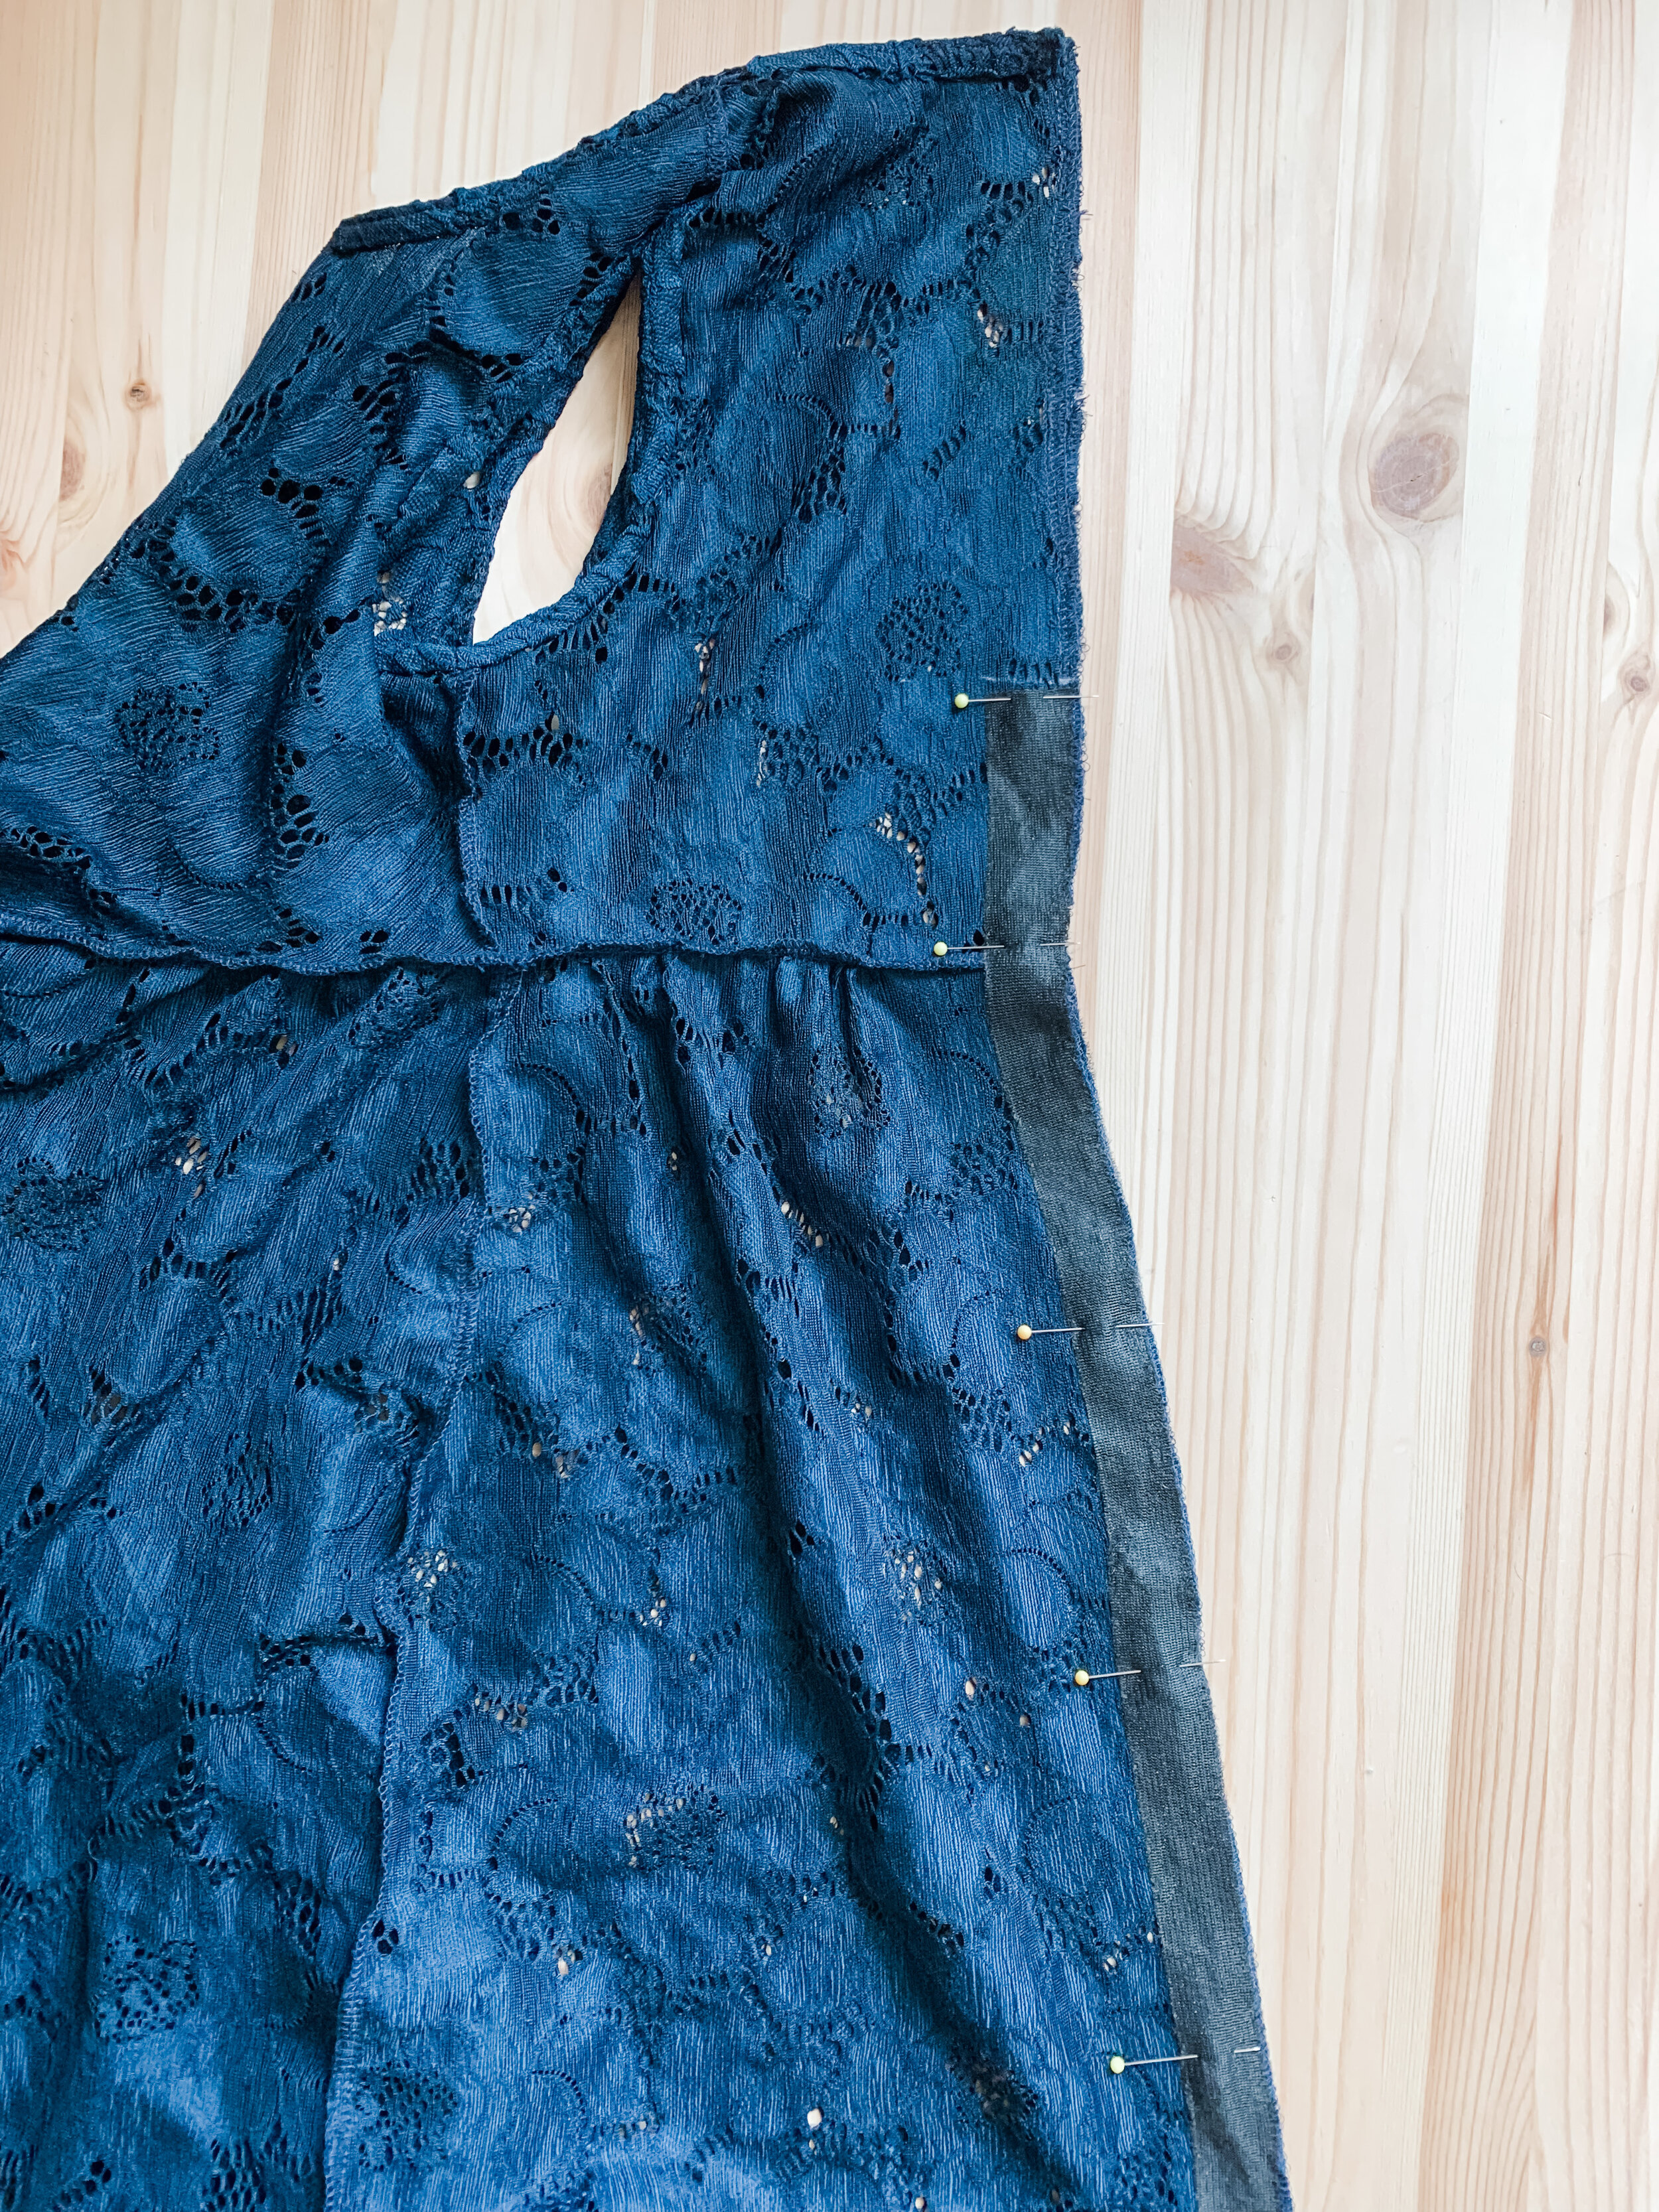
Step 1: Prepare your seam allowance. From the notch at the top of the zipper to the bottom, press a piece of 1” wide interfacing to stabilize your seam allowance. I sew my zippers in first and finish the seam after.
Step 2: Either machine baste or hand baste your seam where the zipper will sit. This is critical, and especially if you have any horizontal seams that need to match perfectly as shown above.
Step 3: Press your invisible zipper flat before you sew it in to your garment. It will not stay flat … the teeth will roll back toward the tape. But this step eases the zipper so you can stitch closer to the teeth.

Step 4: Hand baste the zipper to the seam allowances. Be careful that your basting does not go through to the face of the fabric. The stitch should only go through the zipper tape and the seam allowance. Check now to make sure that your horizontal seams are matching if applicable. Adjust if necessary.
Step 5: Gently remove the center seam basting from step 2.
Step 6: Put your zipper foot on to your sewing machine. If you learned to sew with me in the Basics Sewing Series you can use the Singer foot I recommended to you in Basic #2 the zipper clutch. You can also use the zipper foot that came with your machine.
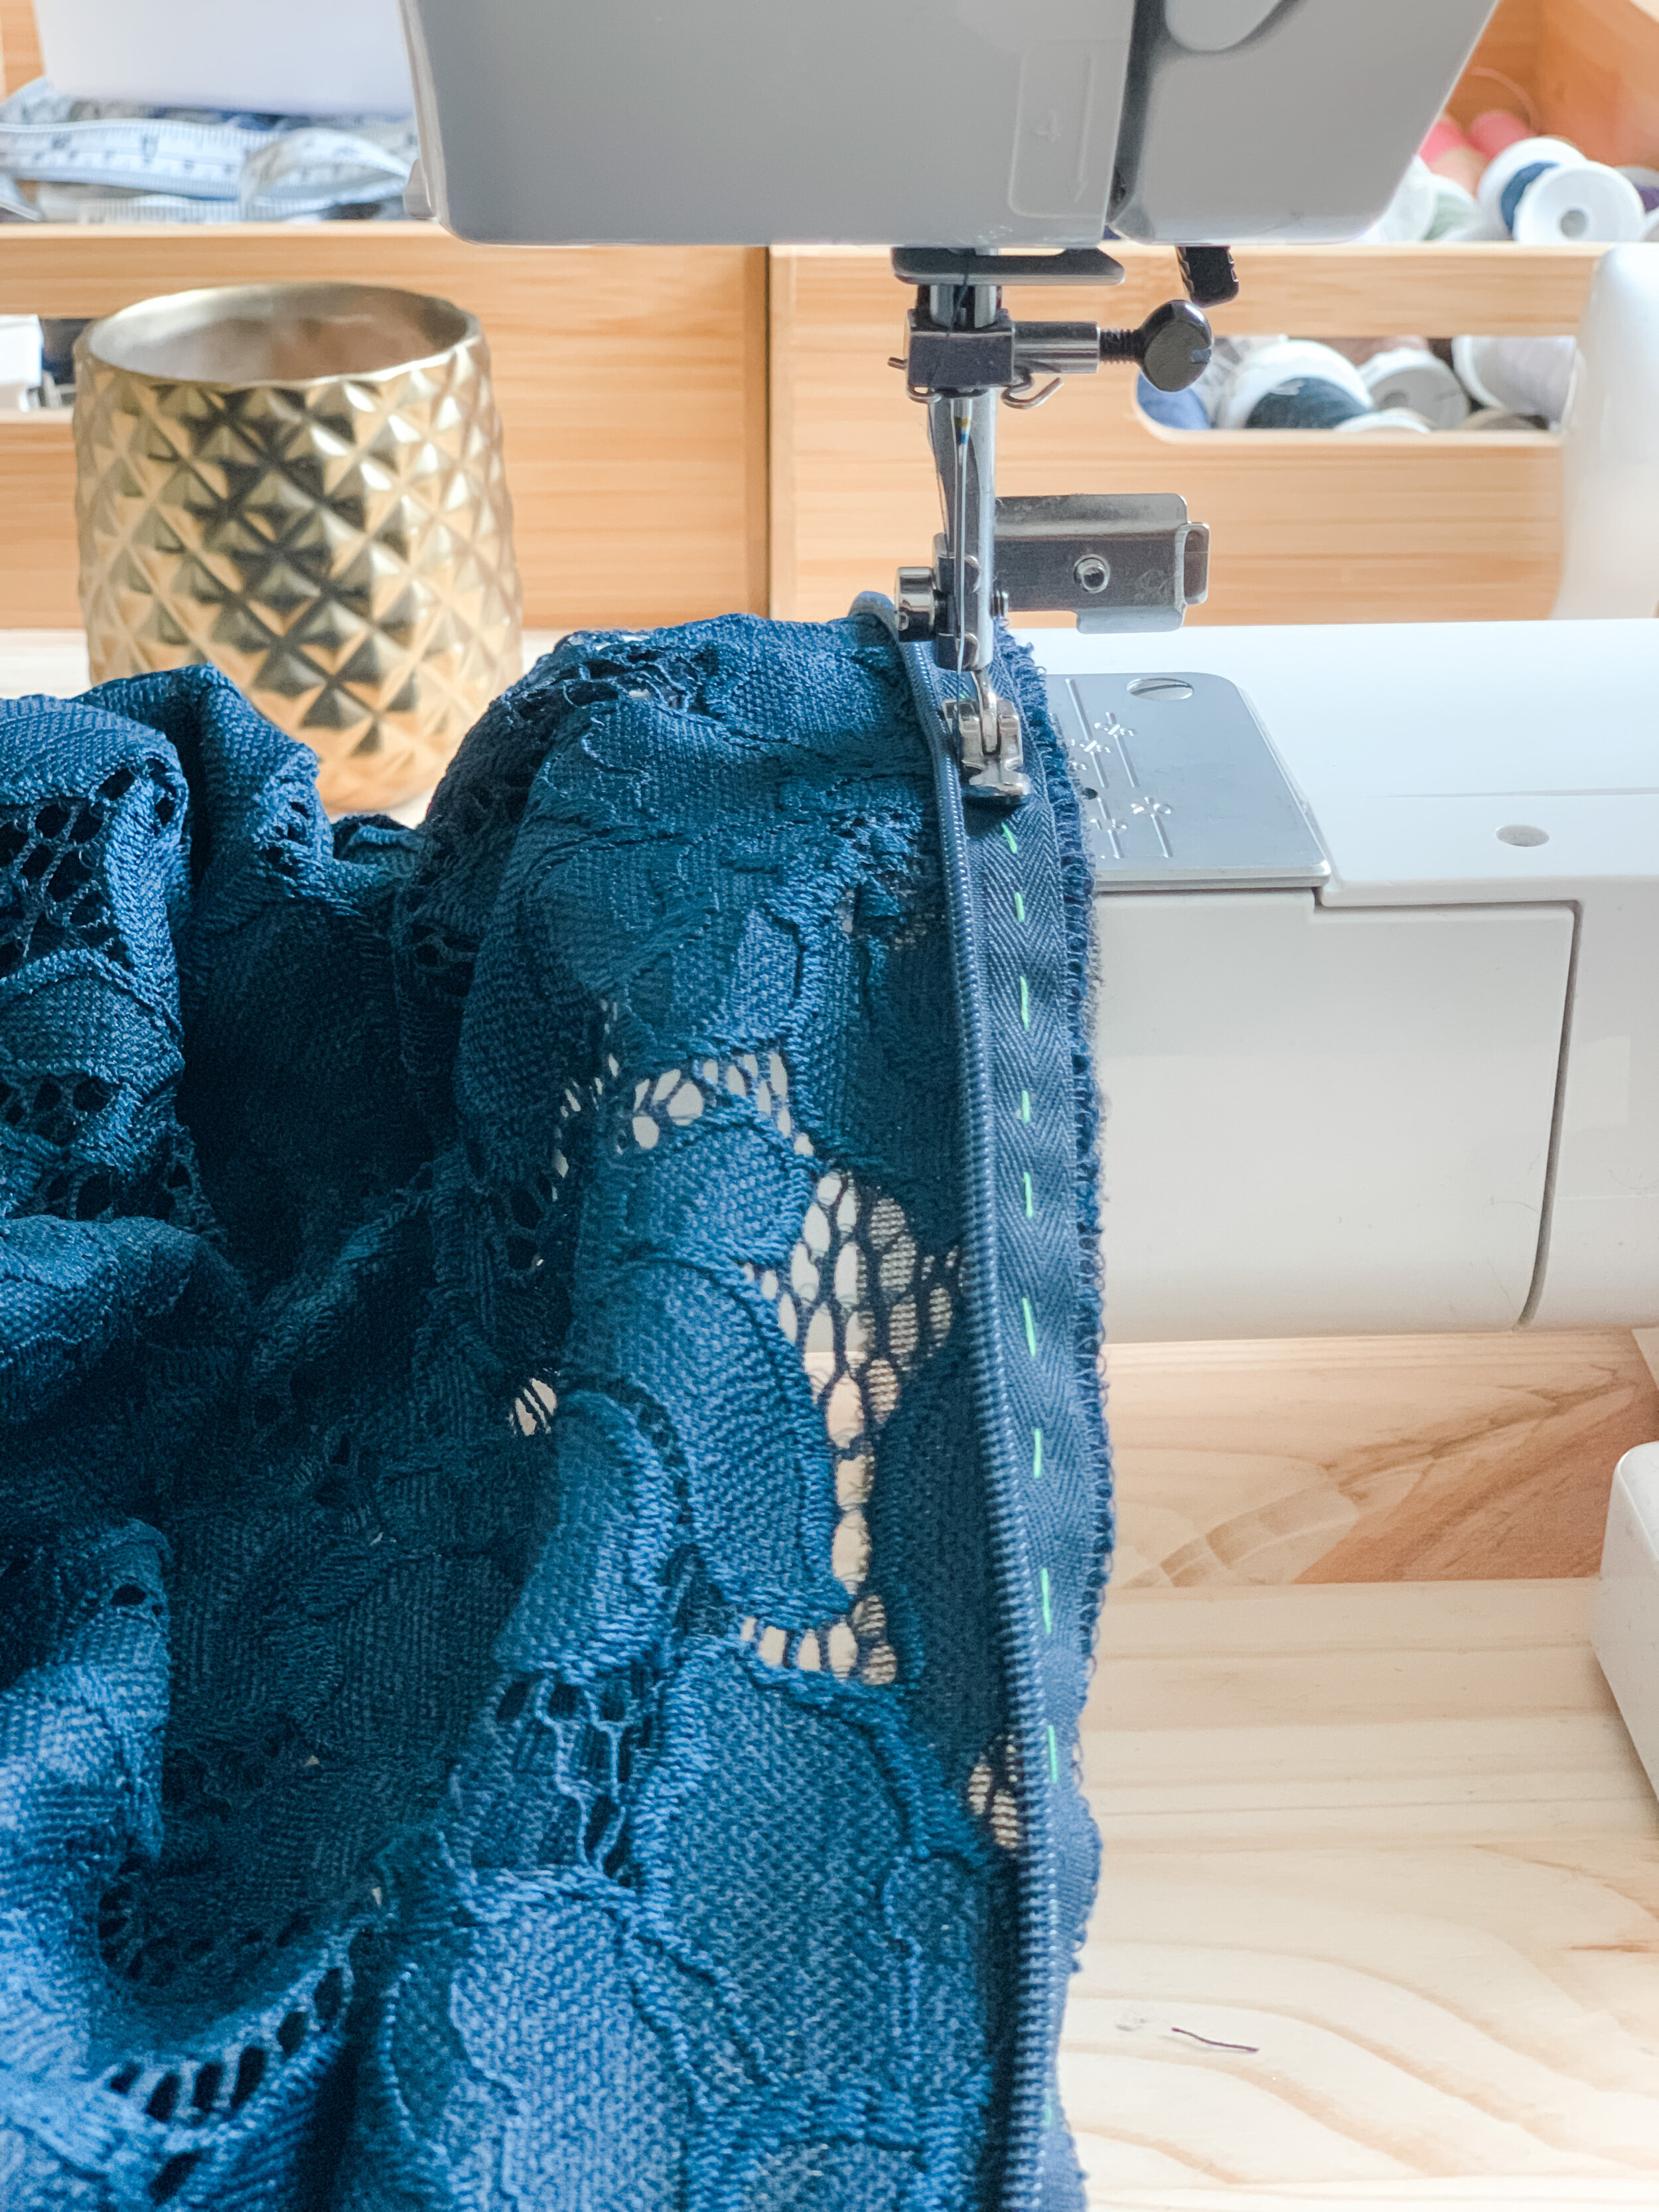
Step 7: Sew your zipper to your garment with the stitch as close as possible to the zipper teeth. Be careful not to stitch on to your zipper teeth. Just very close. Do this on both sides and test that your zipper looks pretty and that the zipper slide moves easily. Adjust if necessary. Once you are happy with your zipper, remove the basting stitches from the seam allowance.
Step 8: Finish your seam above and below the zipper according to your pattern.
Enjoy your beautiful zipper! Thanks for following along on this tutorial. If you like learning with me, please follow common sewing on instagram to stay up to date on new tutorials. Please remember us to friends who want to sew … We offer a wonderful beginner’s sewing series online at The Basics Sewing Series. Happy Sewing, Bonnie